Before starting of this project I was considering EPIC's Metahumans for a basemesh. Knowing that they have developed excellent facial and body rigs with tons of possibilities for great looking realistic skin, it was a smart decision to use their full body rigs and understand how everything worked. Before Metahumans, I was doing just basic level rigging and skinning for low poly meshes. I have learned a lot just by studying how Metahumans are created. The team behind it did some very clever work.
Advancing from Geodesic Voxel Skinning for offline rendering to learning Linear Skinning with RBF Solvers + Corrective Shapes for realtime was eye opening.. (even delta mushing on clothing was giving better results than before) I will surely put this knowledge to better use on my future projects.
Advancing from Geodesic Voxel Skinning for offline rendering to learning Linear Skinning with RBF Solvers + Corrective Shapes for realtime was eye opening.. (even delta mushing on clothing was giving better results than before) I will surely put this knowledge to better use on my future projects.
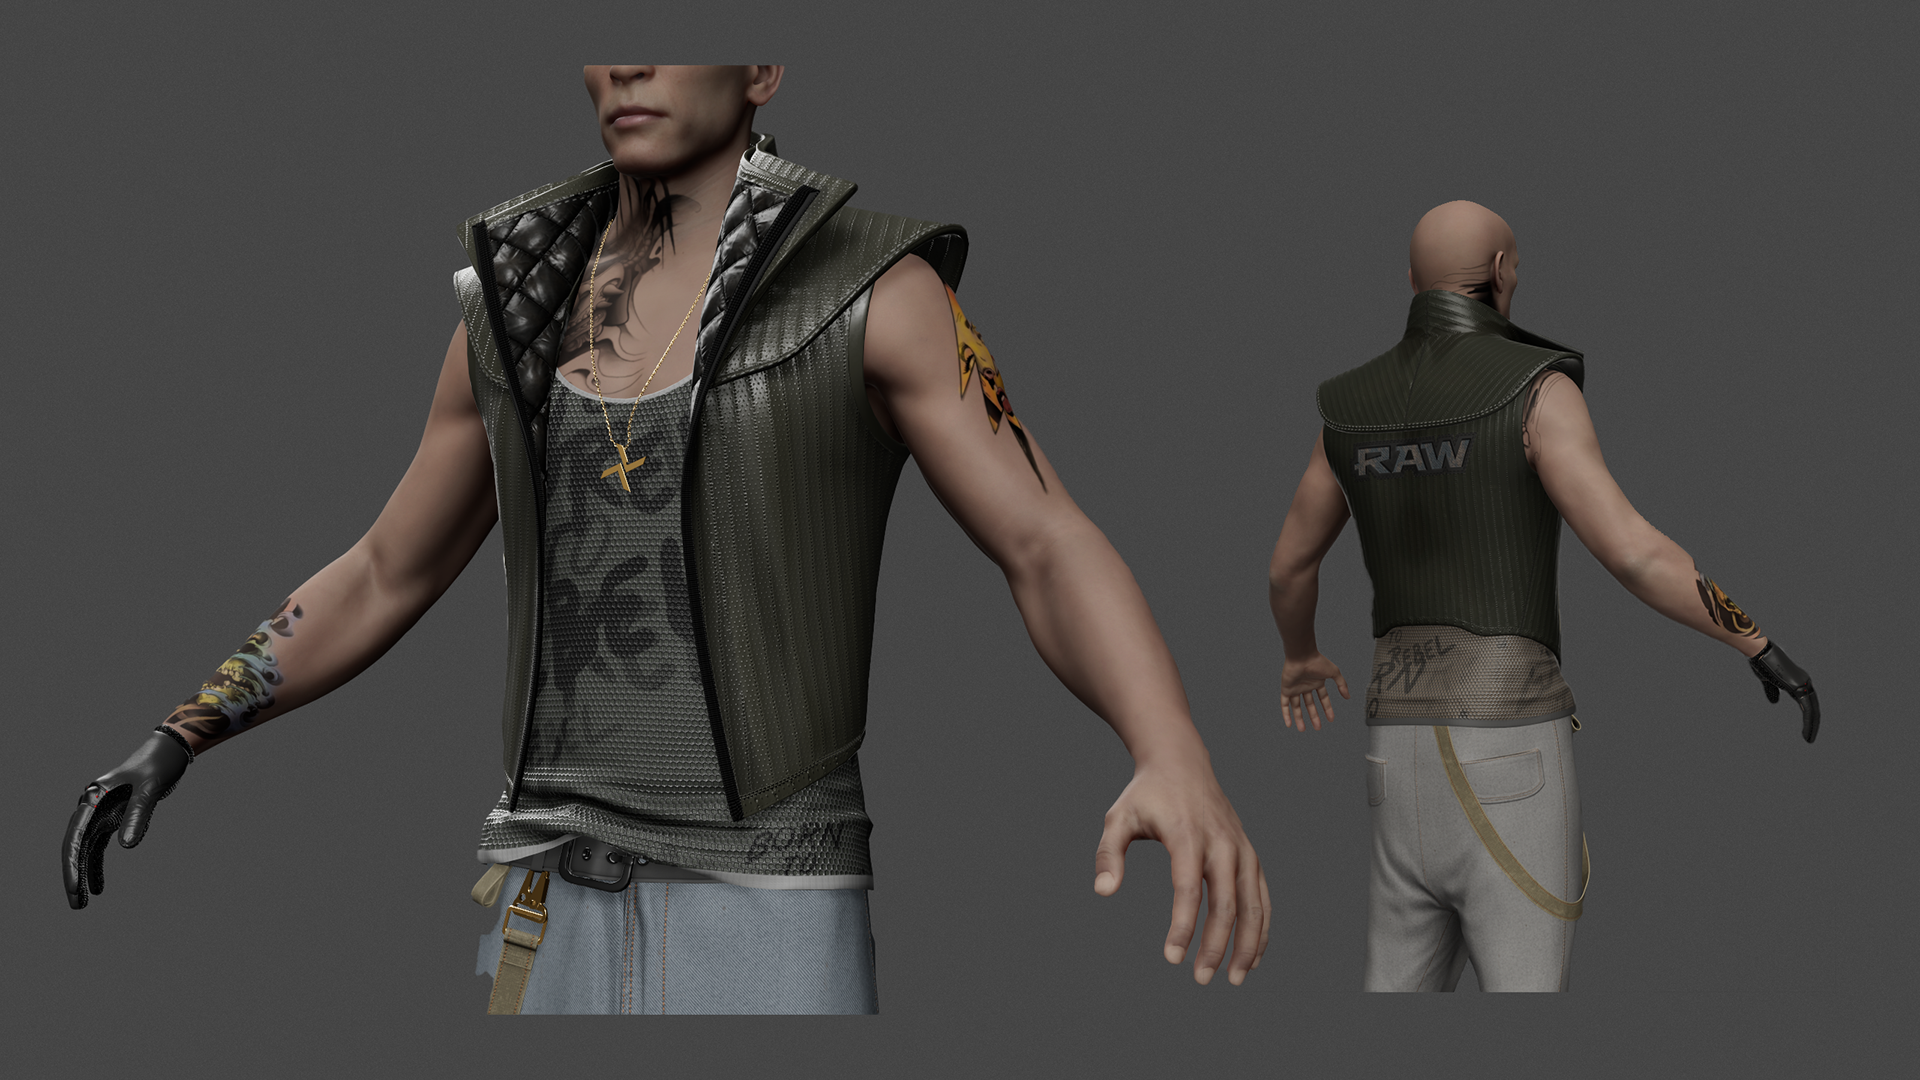
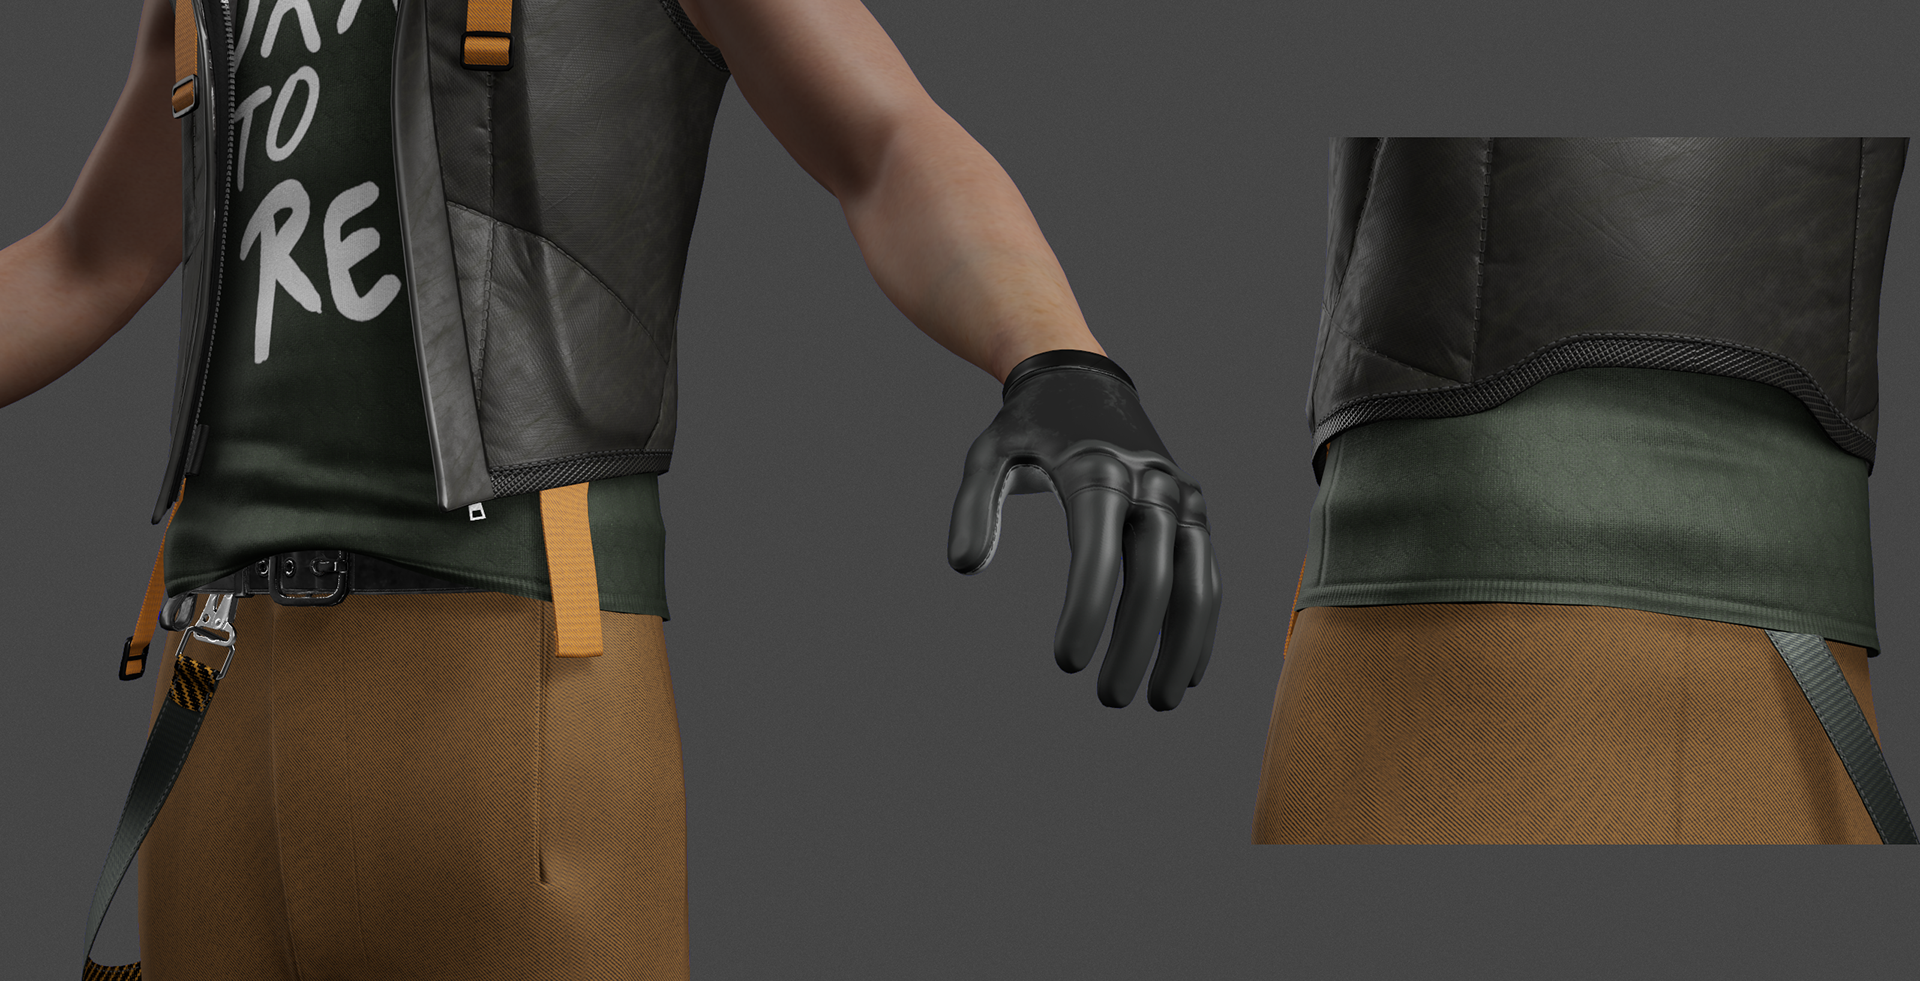
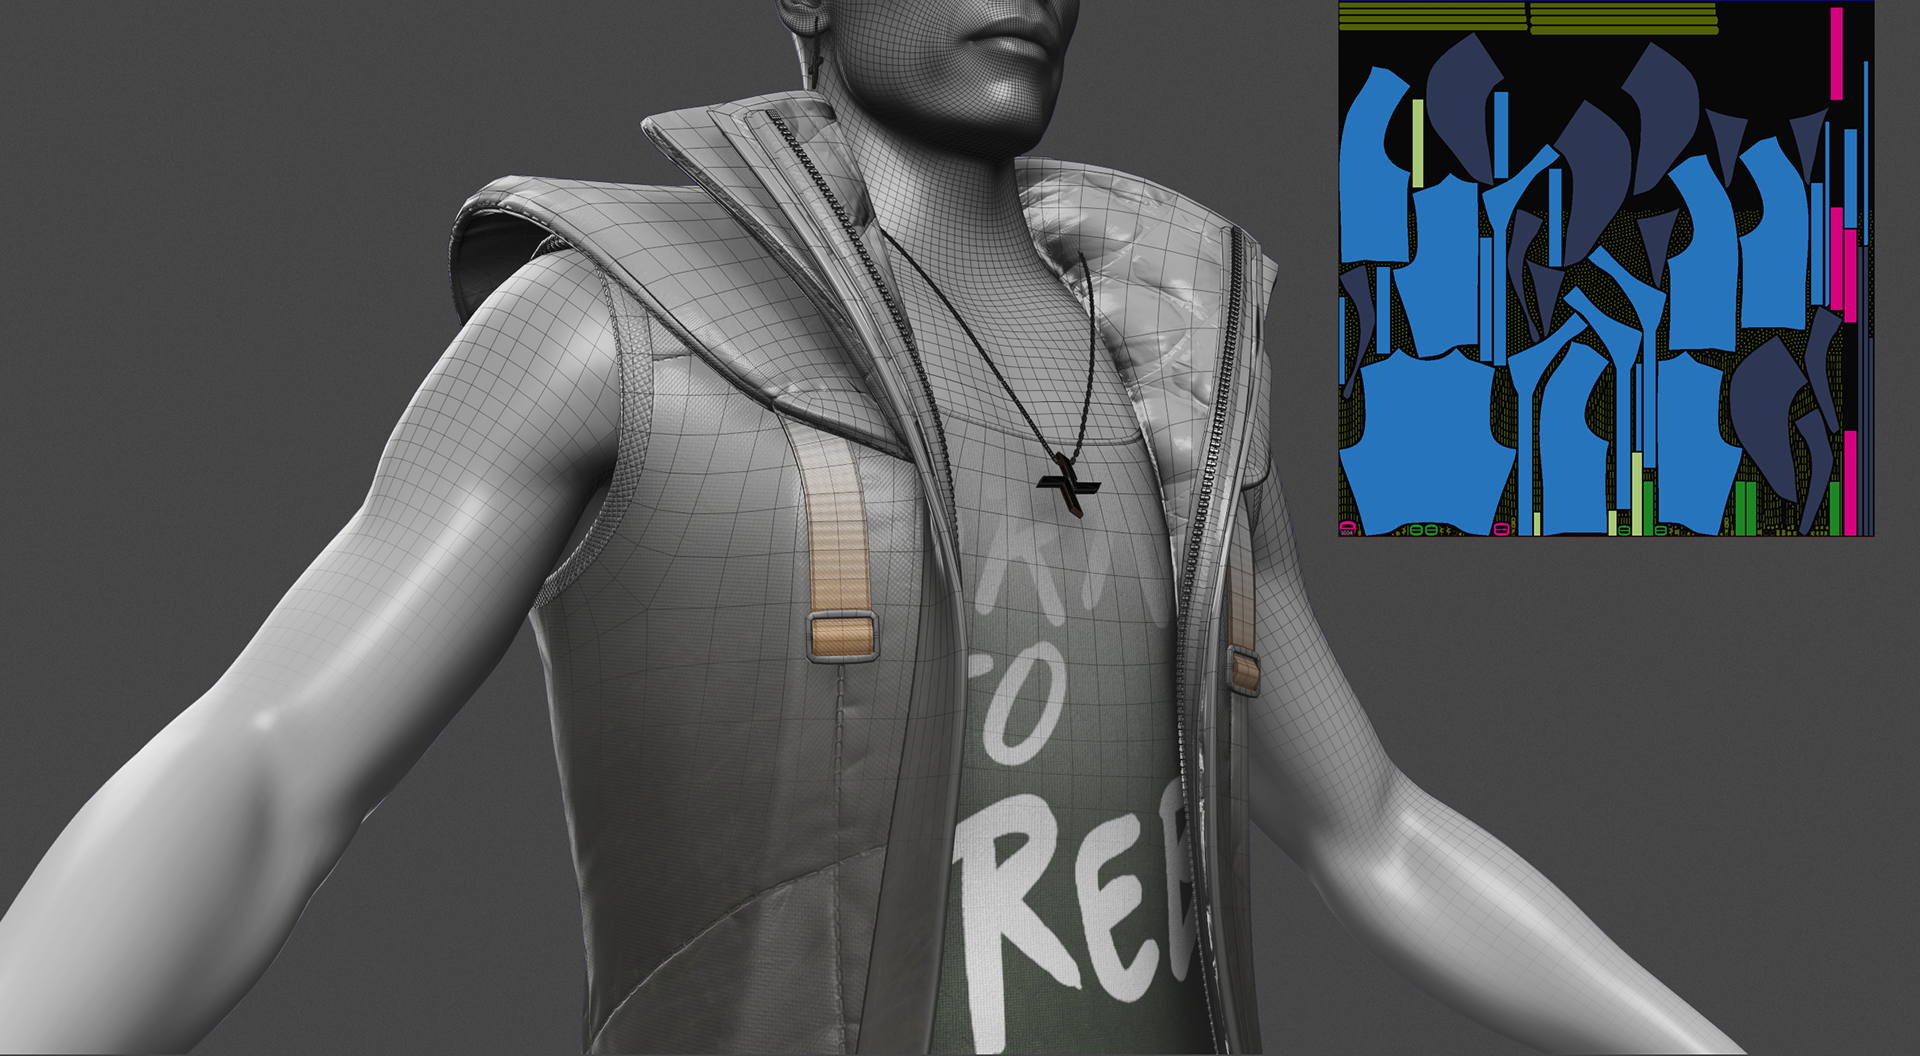
first version of clothing. which was too ambitious.
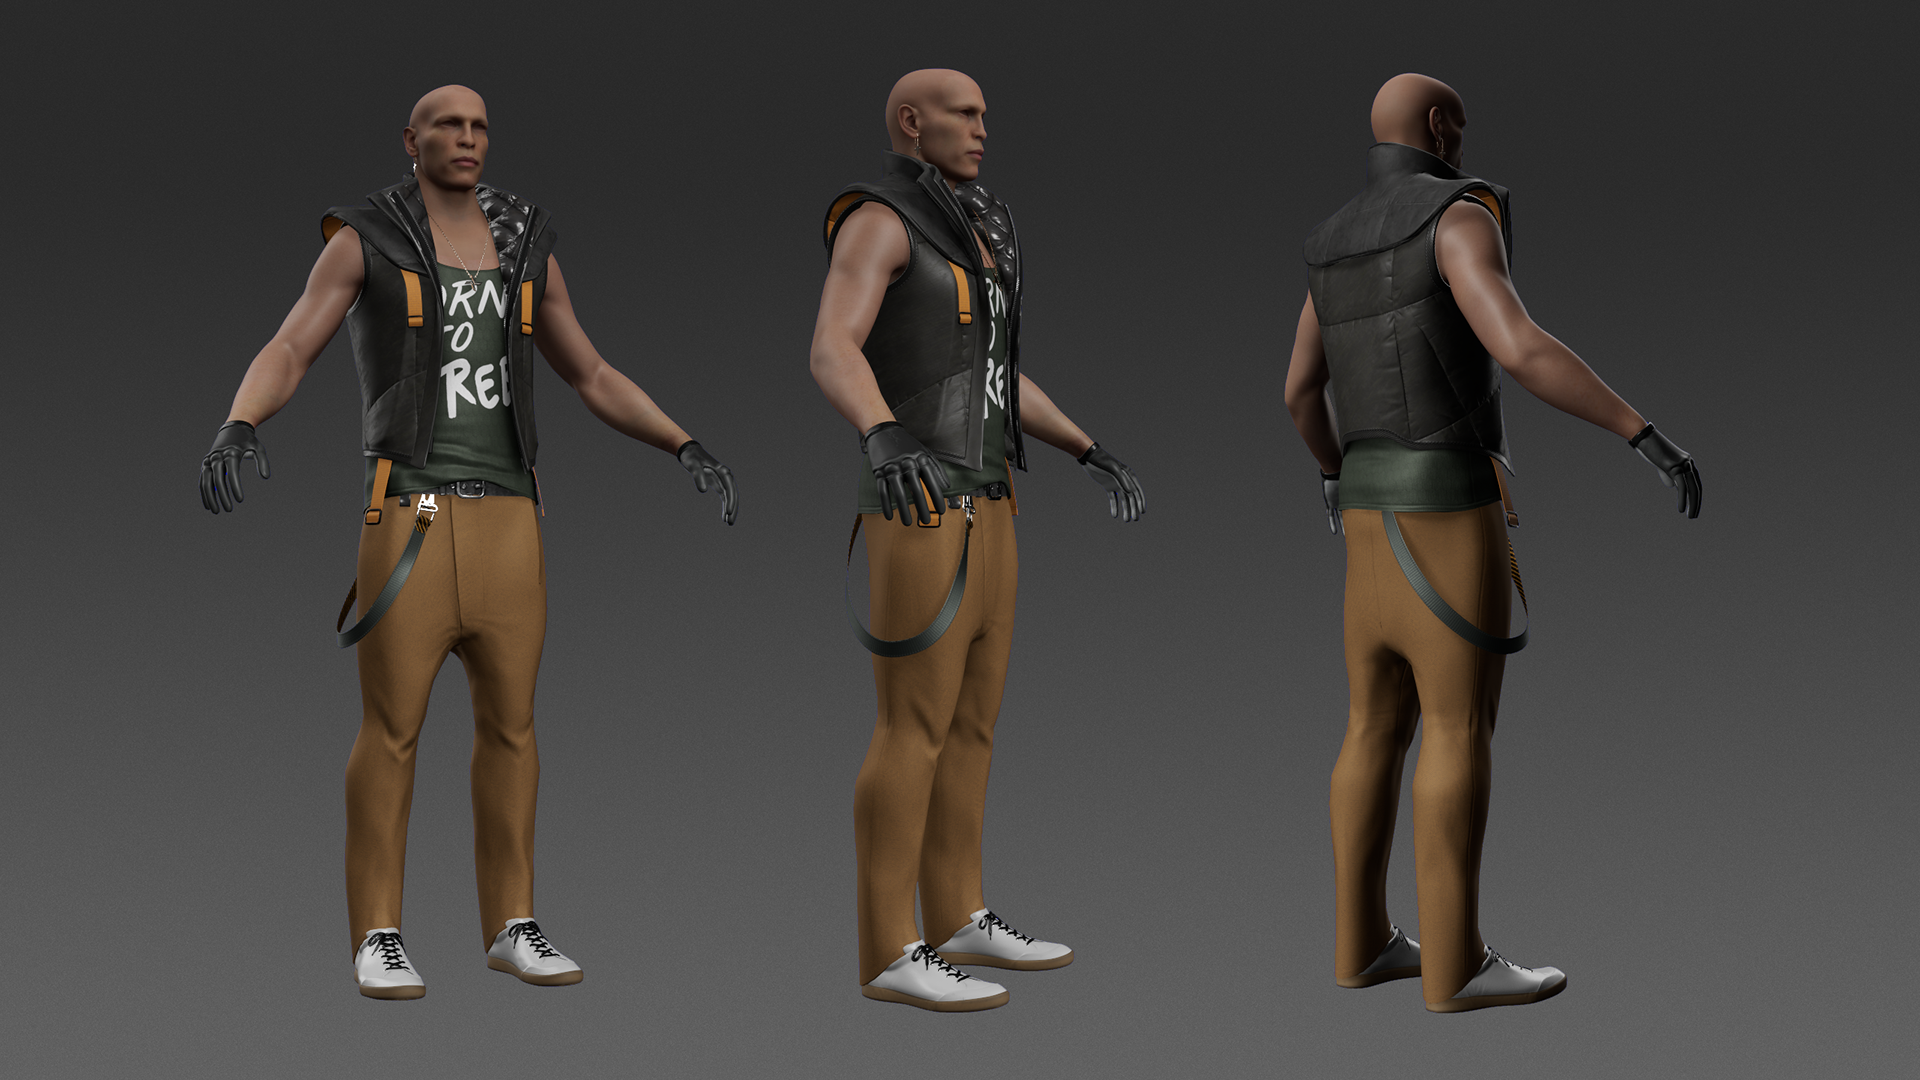
current version is cleaner, has more readable details
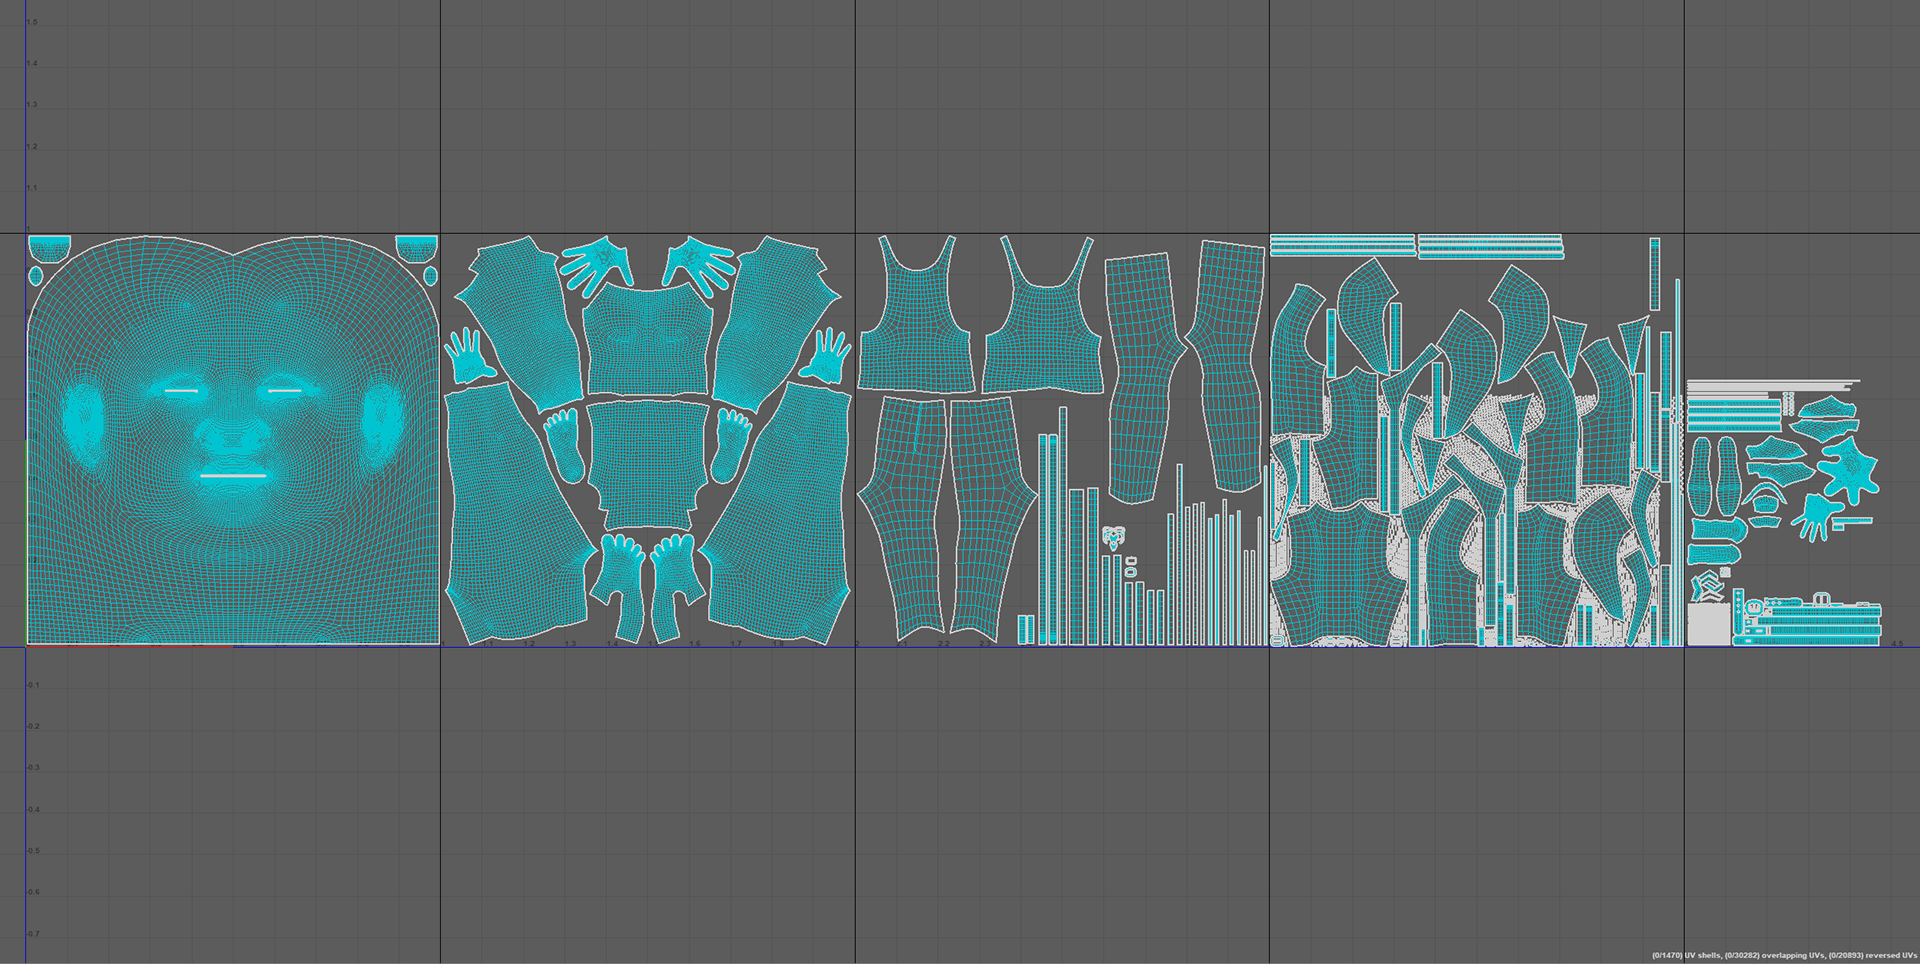
Manual Retopo always needed for good UV's. Took me couple of hours from start to finish.
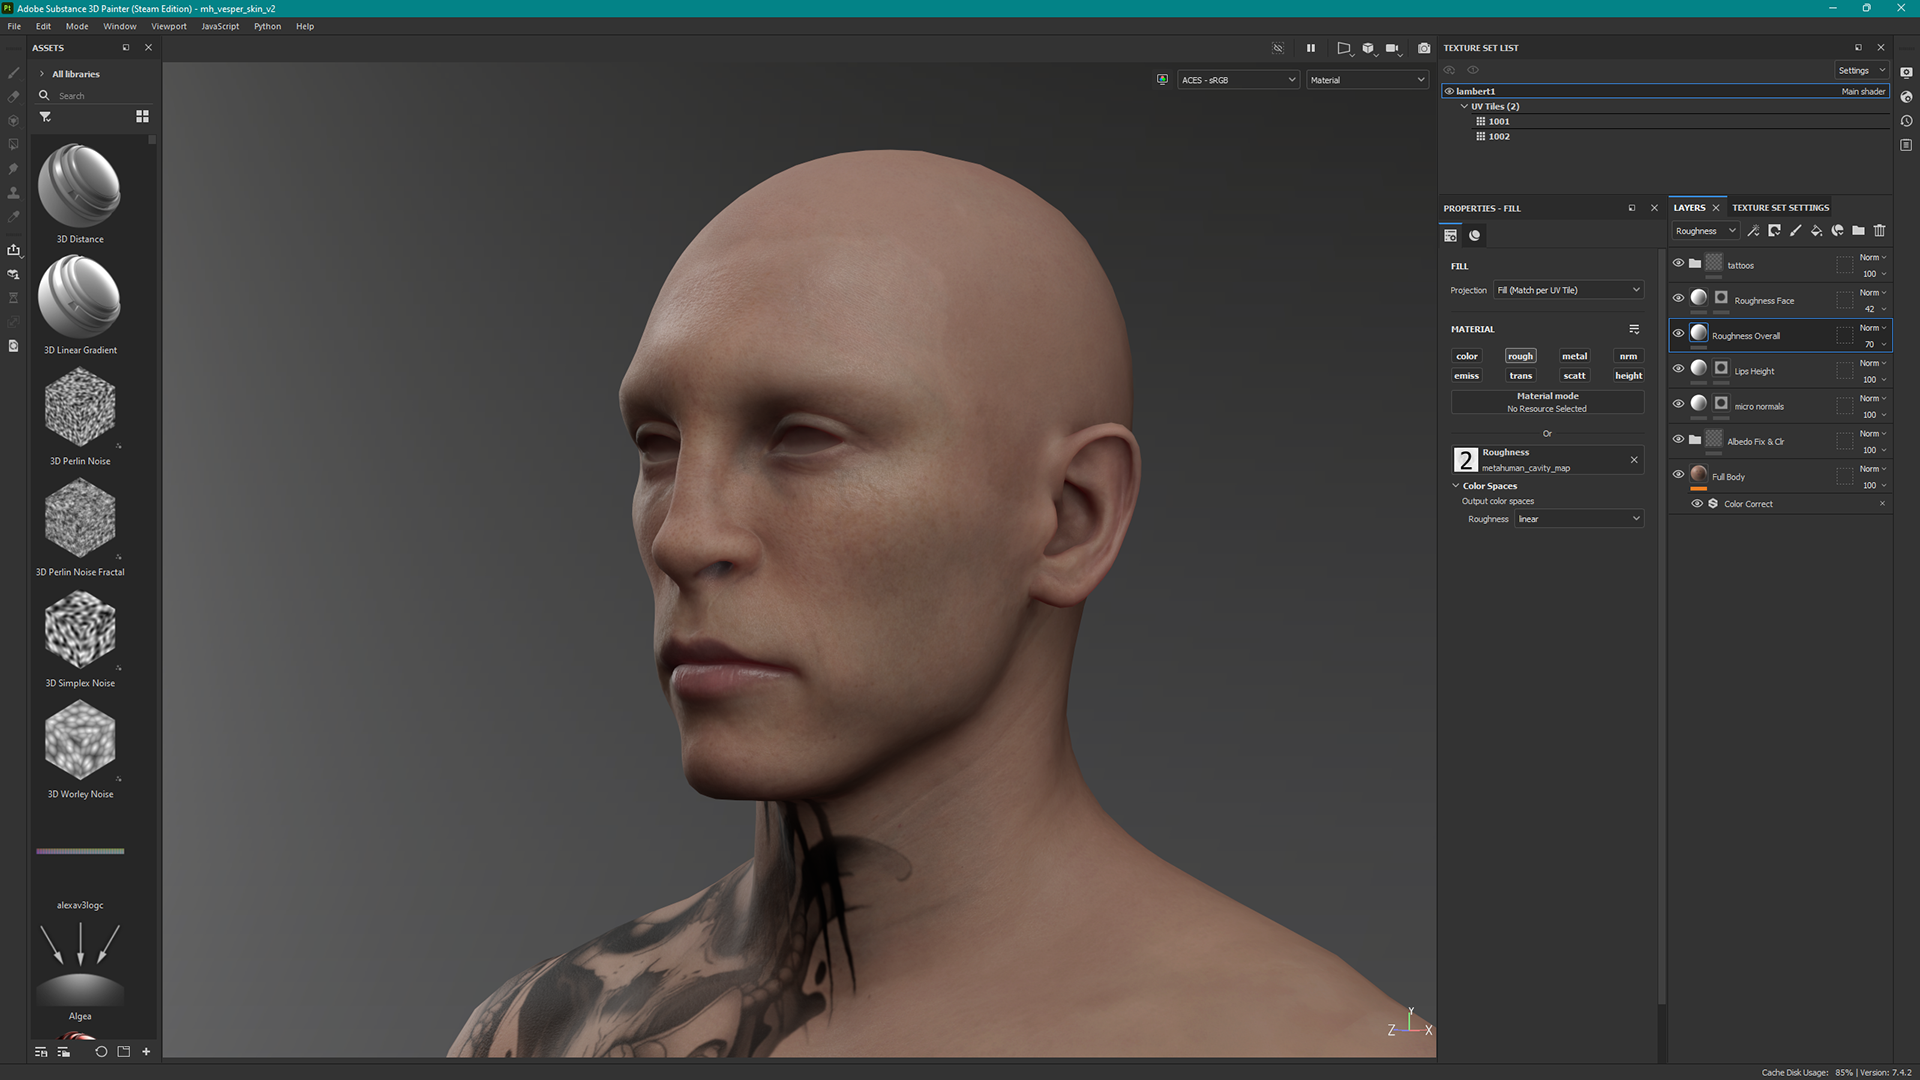
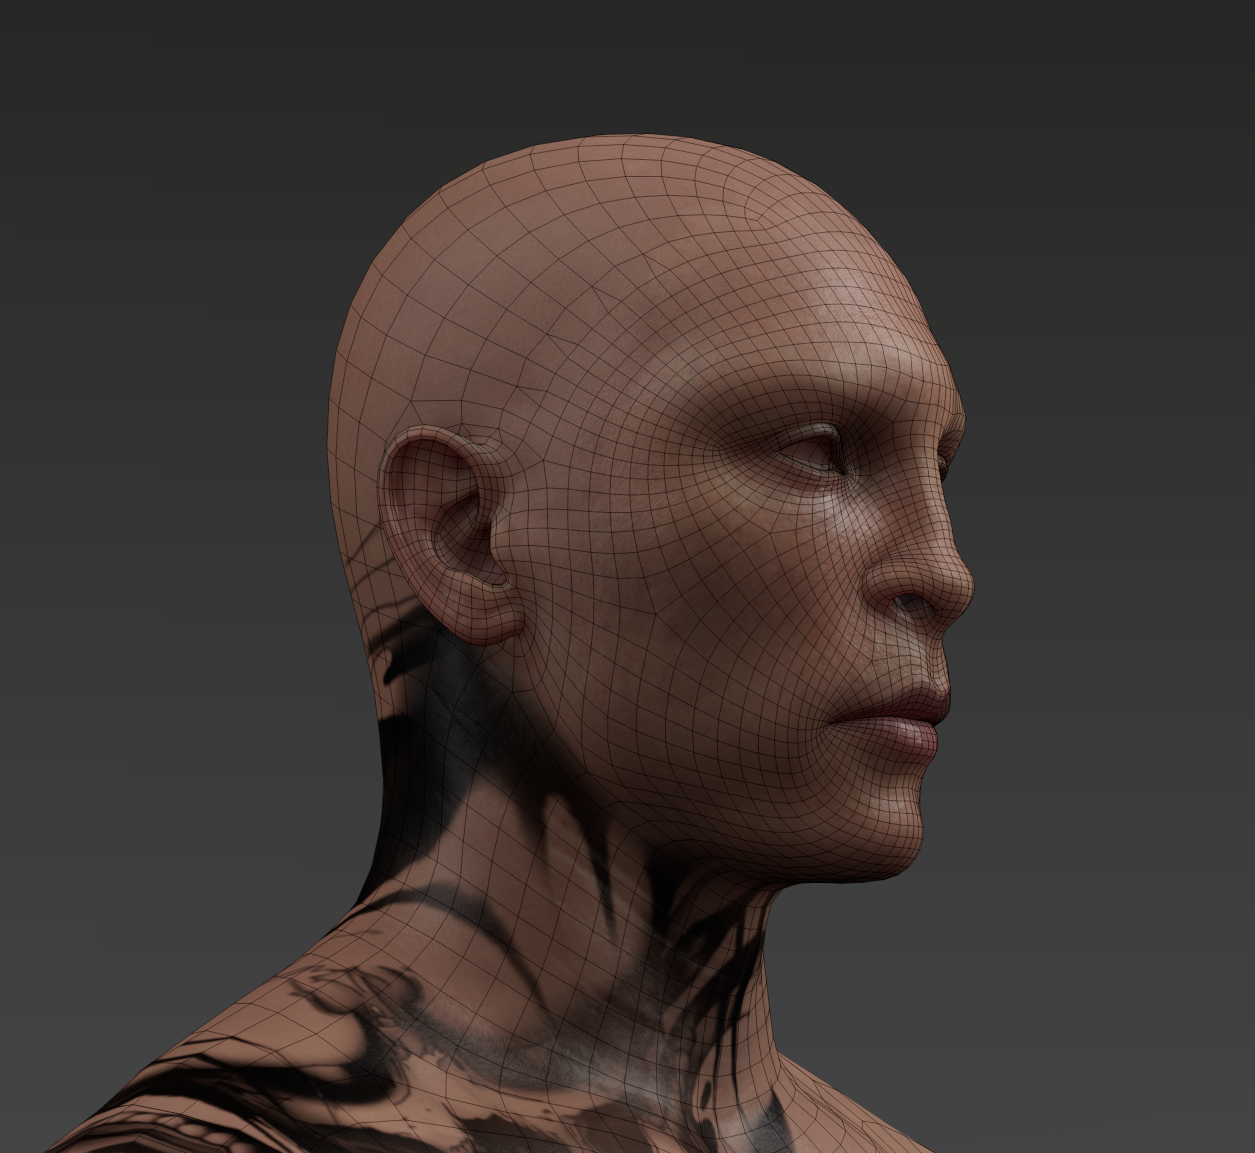

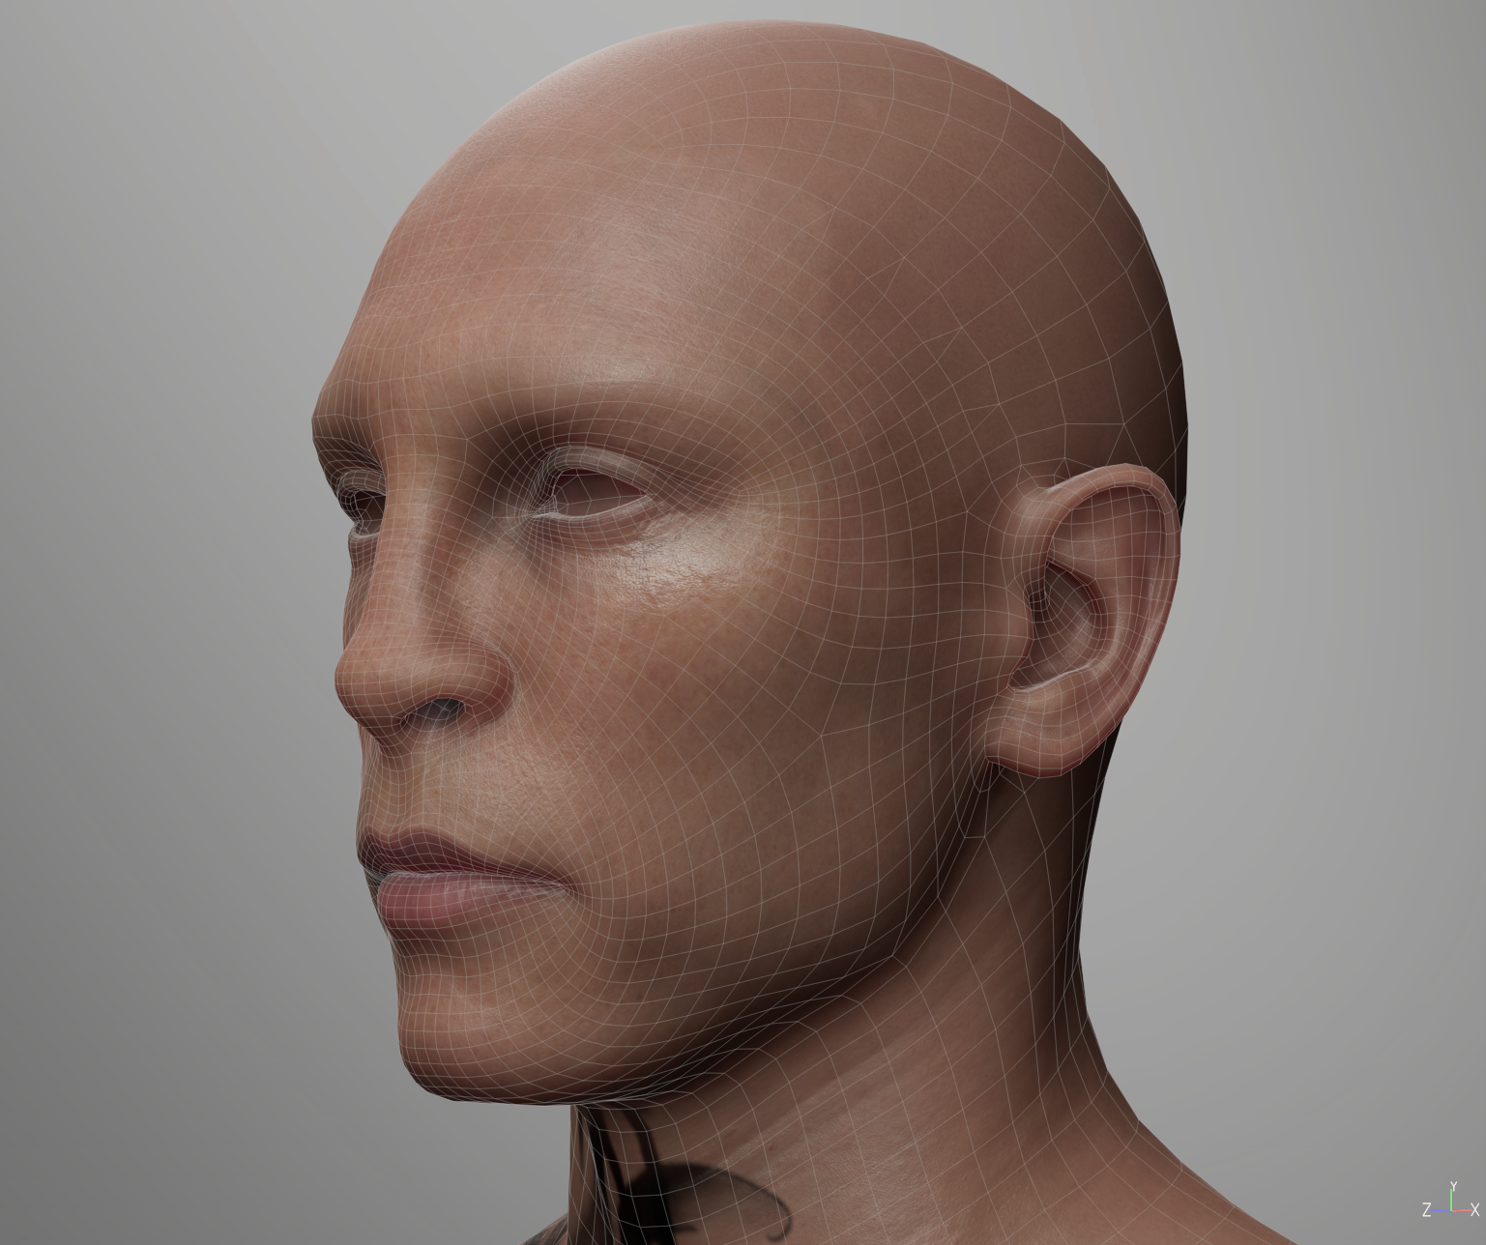
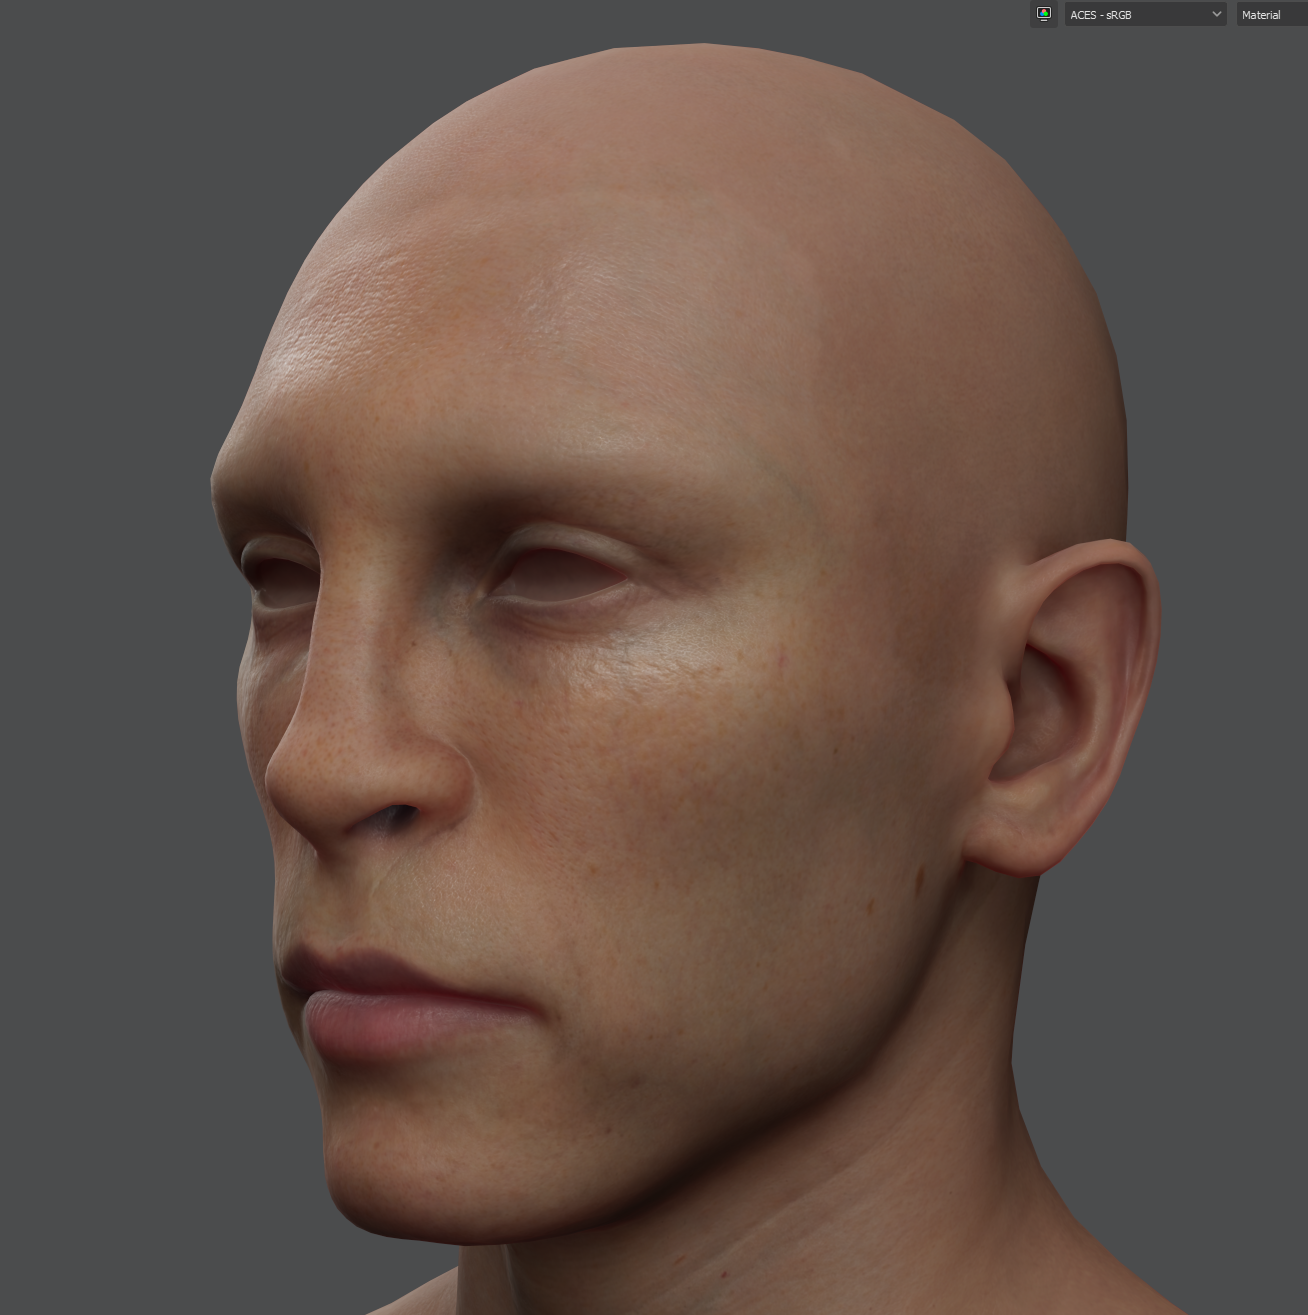
These 3 images are actually screen-shots from Substance Painter's Viewport.
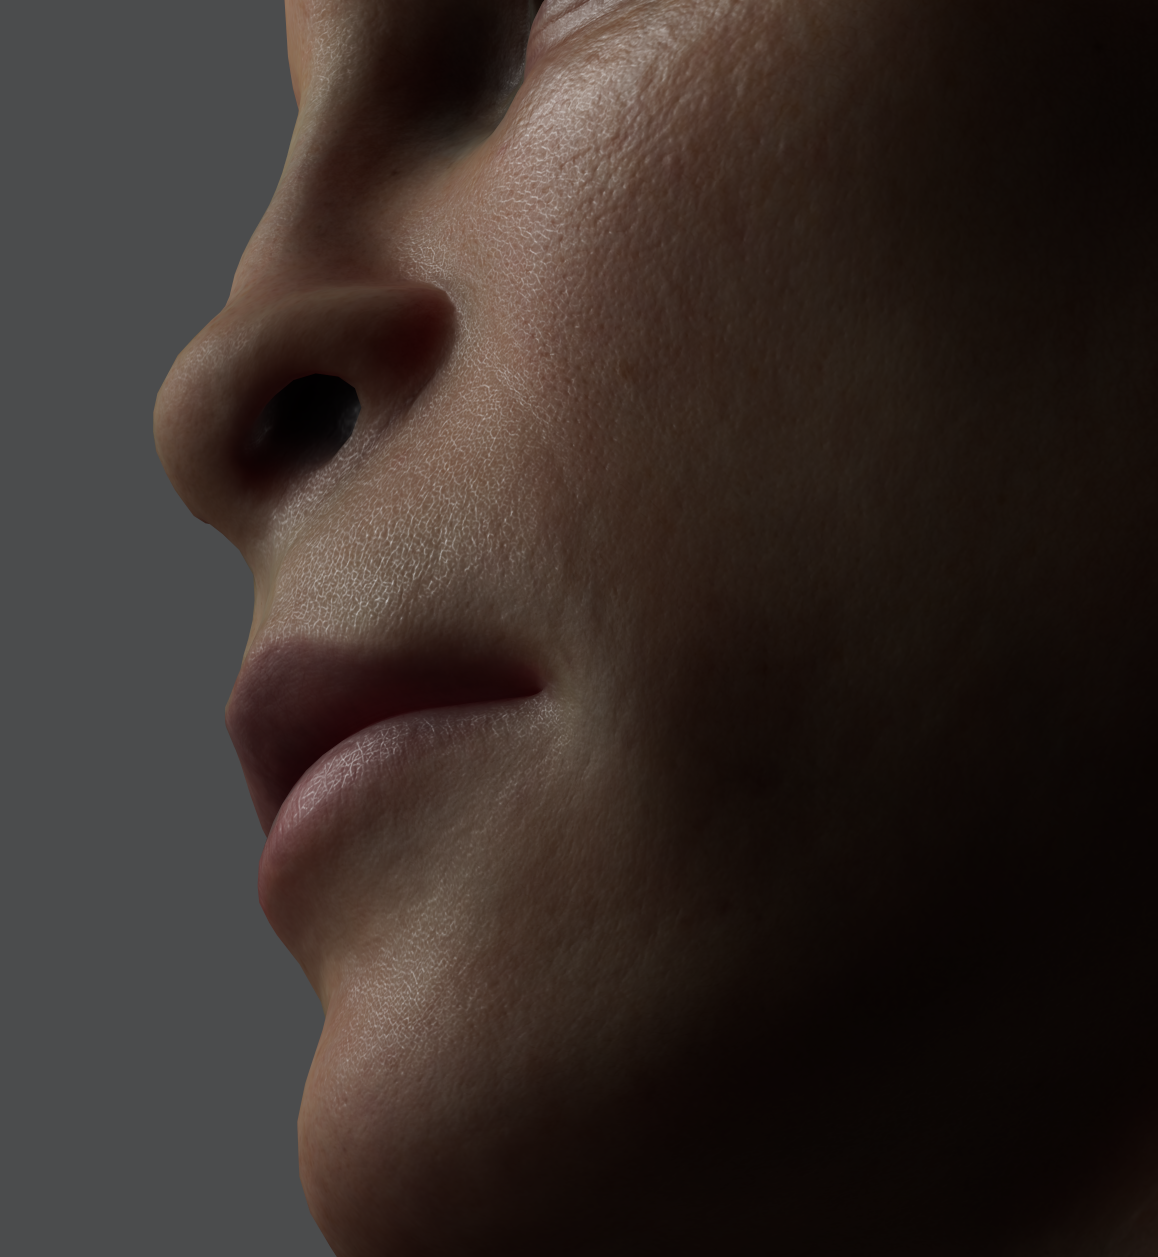
I was surprised that the quality of SSS shading was just right for previewing realistic skin in realtime. I won't be going back to Mari anytime soon after seeing this!
I was surprised that the quality of SSS shading was just right for previewing realistic skin in realtime. I won't be going back to Mari anytime soon after seeing this!
Skin is a completely different topic, but this time my process was nothing more than just setting up and modifying a couple of maps inside Painter, knowing that I can export a height/disp. map from Painter to ZBrush and sculpt additional details later on. Even Normal Map to Displacement conversion is possible via Substance Designer.
A single "Cavity Map" used to mask Roughness was responsible for this beautiful shading.
A single "Cavity Map" used to mask Roughness was responsible for this beautiful shading.
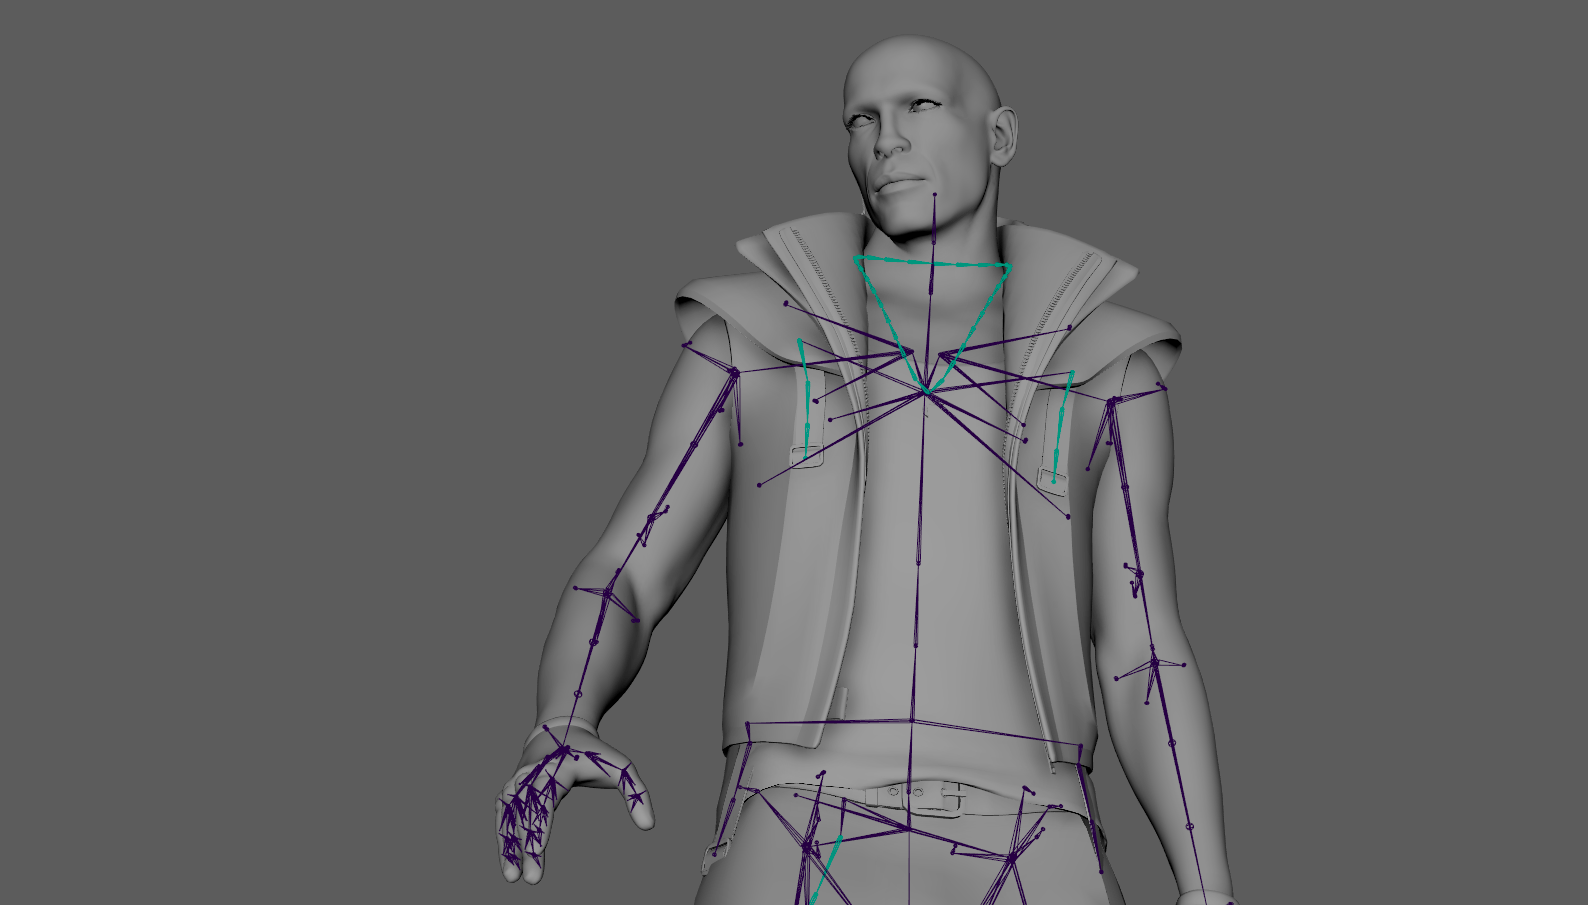
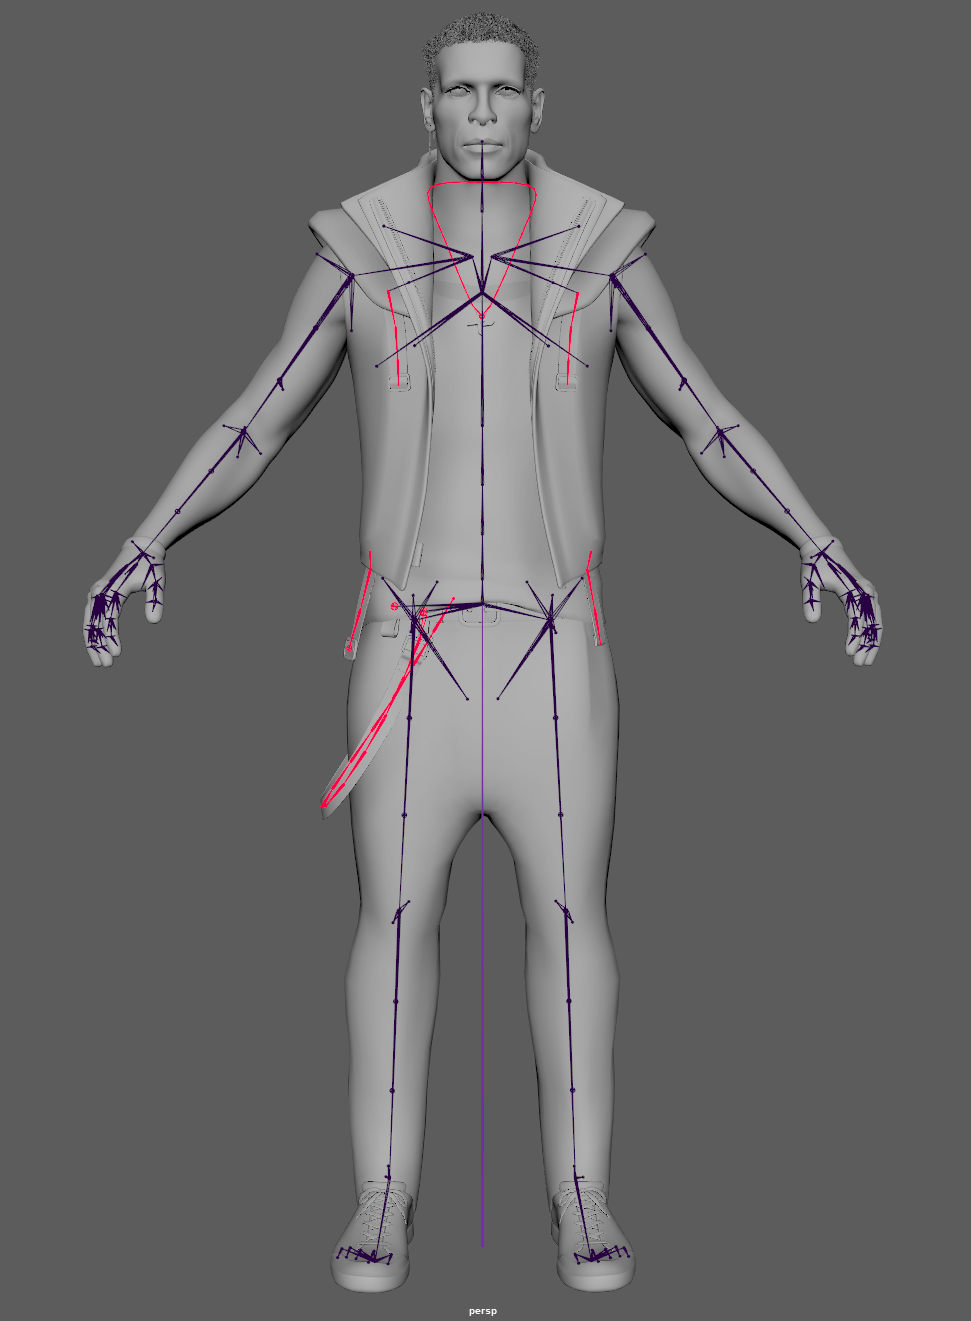
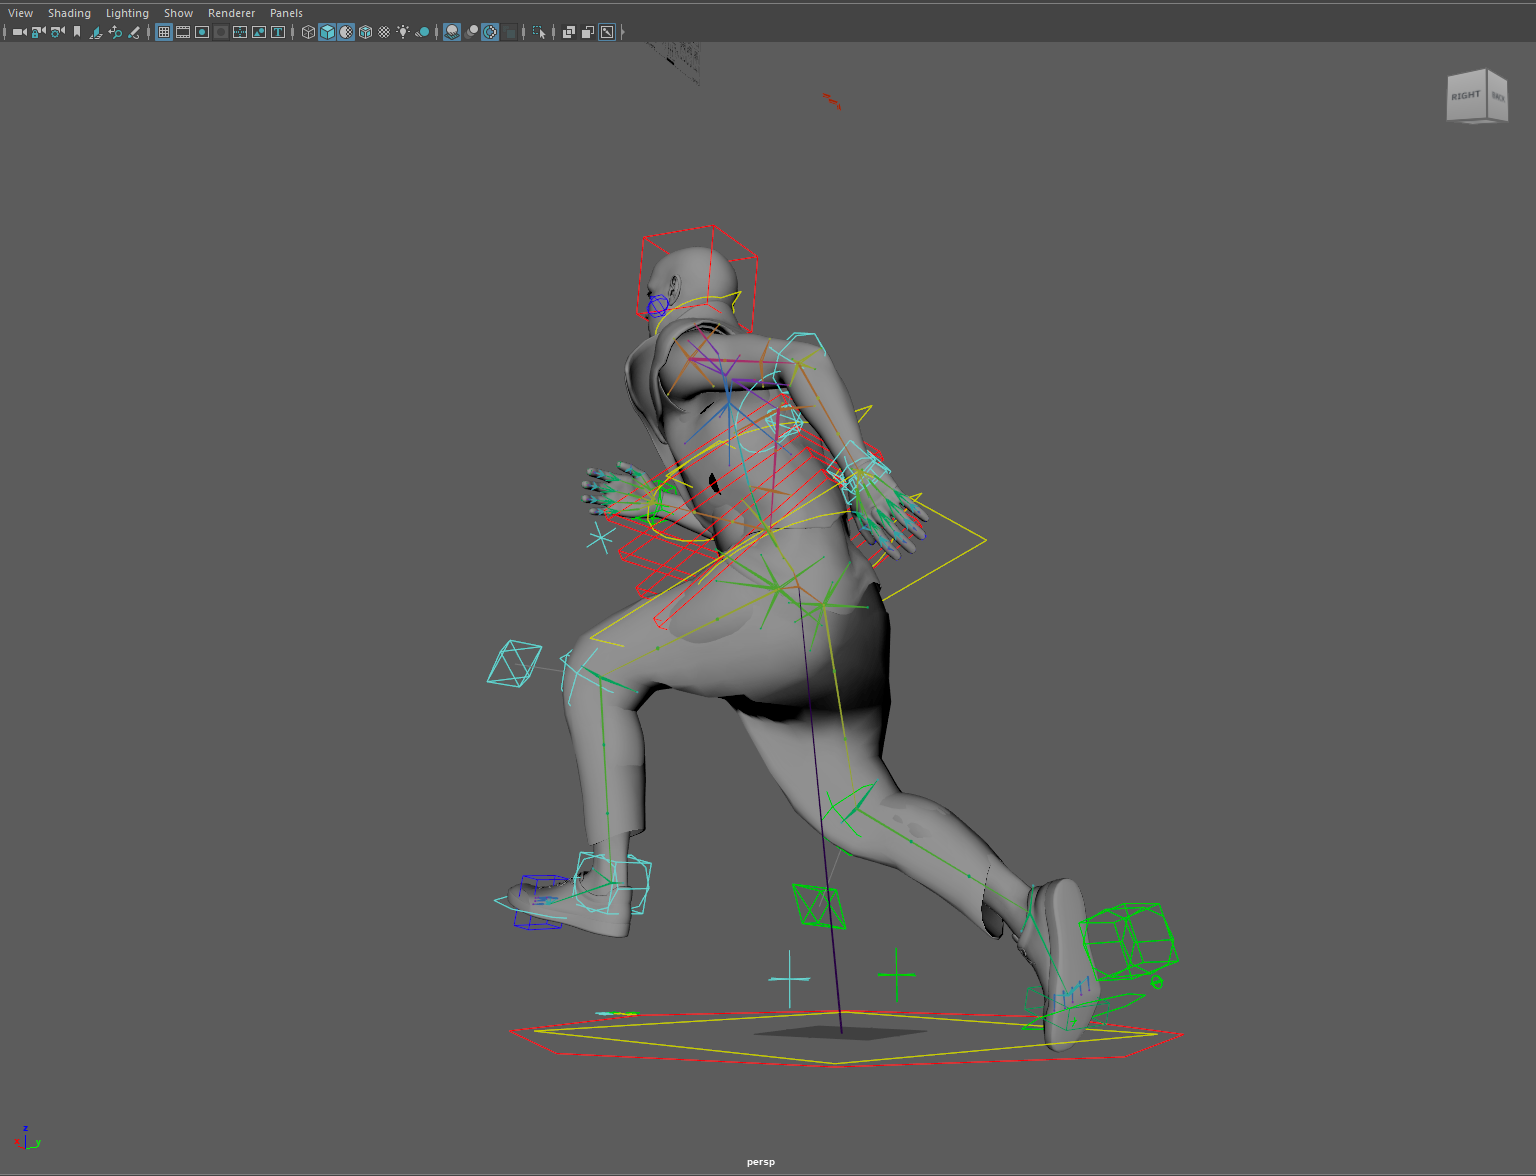
The Rig
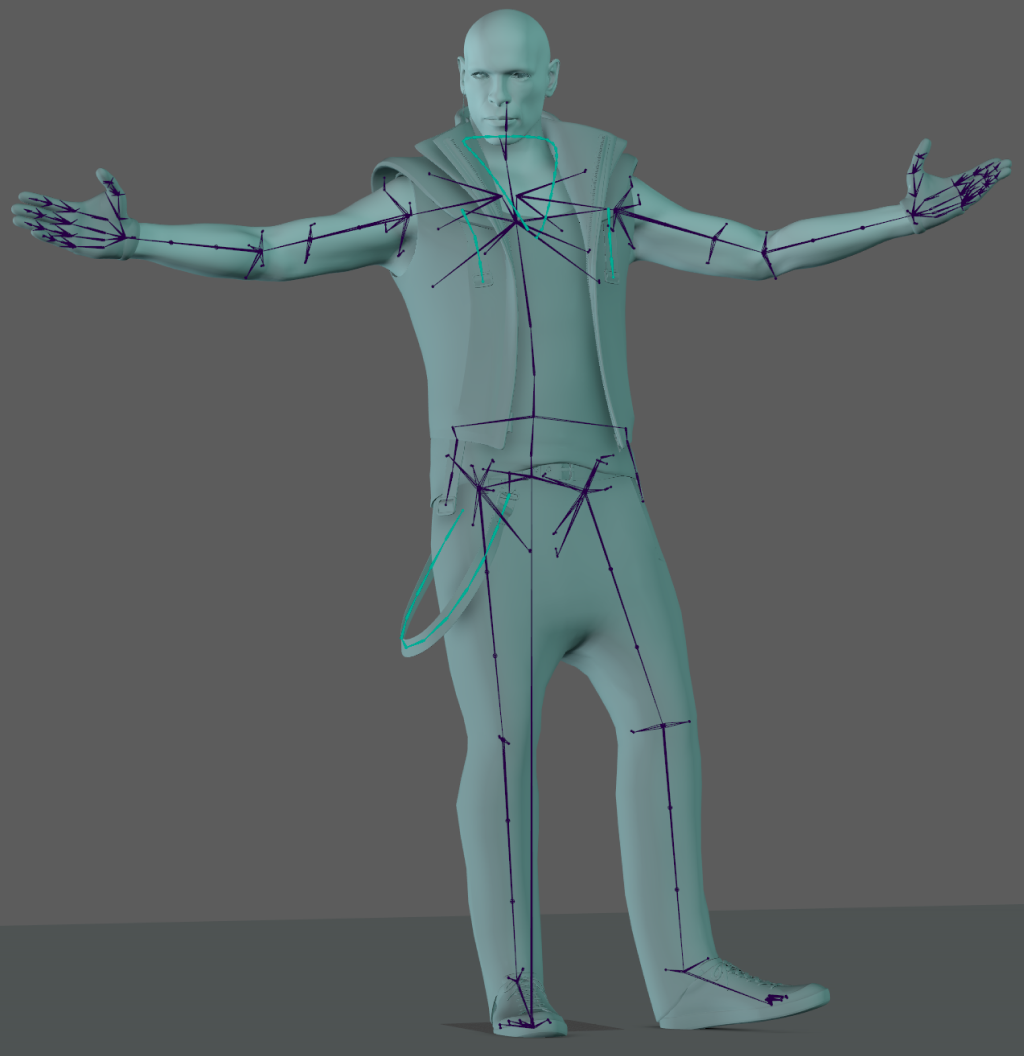
The Metahuman Source File includes the same rig logic and Maya plugins that were utilized in UE5.
Skinning was simple using NG Skinning Tools, STS, and another custom plugin called Skinner, which is a pipeline utility tool that came in handy when transporting skinned meshes between scenes. The amount of work and iteration required for a solid, performant setup is insane in and of itself, and things would have been so challenging without those tools that I would have given up completely. I don't have any custom tools that big studios developers provide internally but started to develop a script that will help speed up metahuman rigging and mocap retargeting workflows.
Skinning was simple using NG Skinning Tools, STS, and another custom plugin called Skinner, which is a pipeline utility tool that came in handy when transporting skinned meshes between scenes. The amount of work and iteration required for a solid, performant setup is insane in and of itself, and things would have been so challenging without those tools that I would have given up completely. I don't have any custom tools that big studios developers provide internally but started to develop a script that will help speed up metahuman rigging and mocap retargeting workflows.
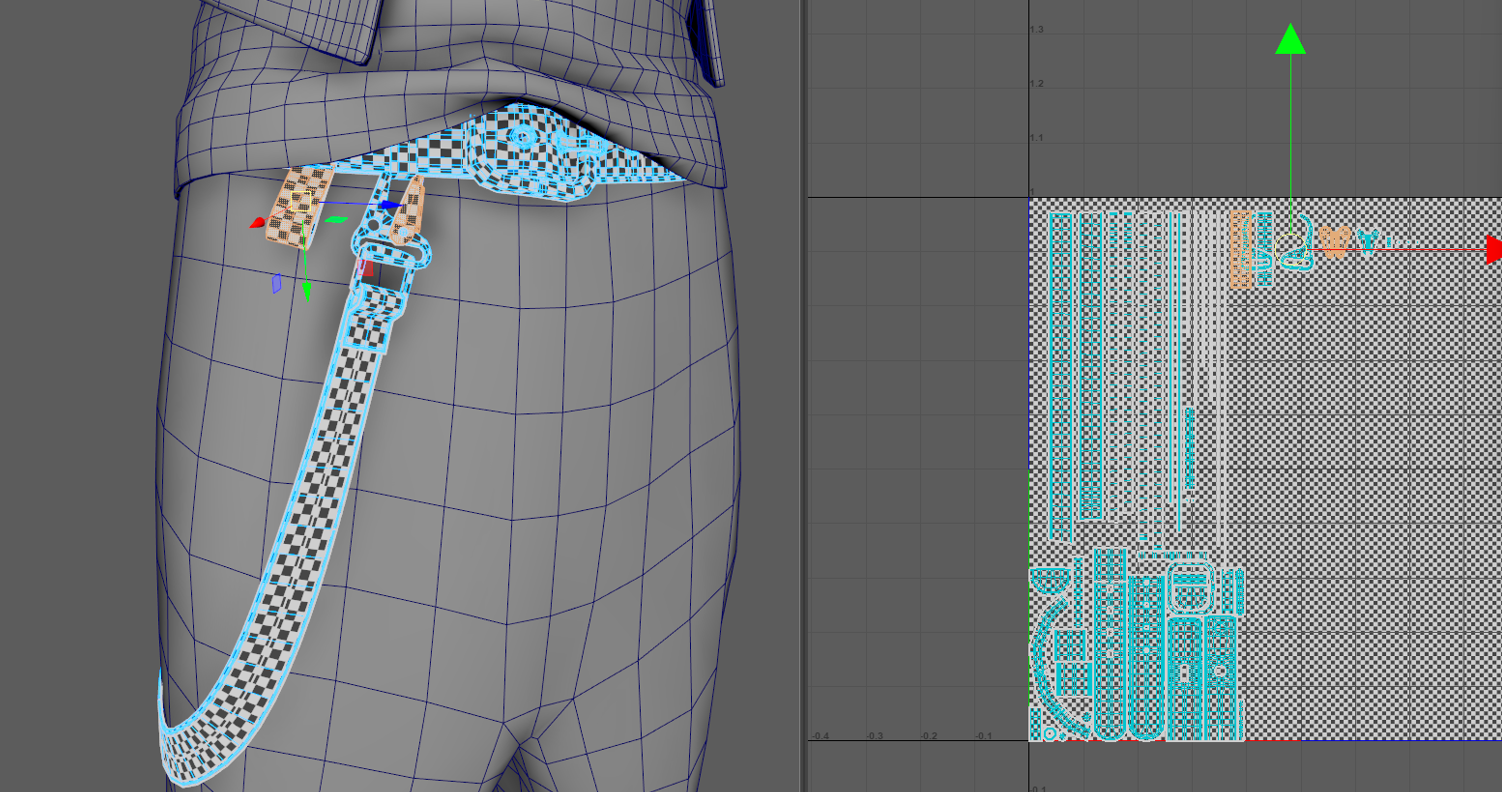
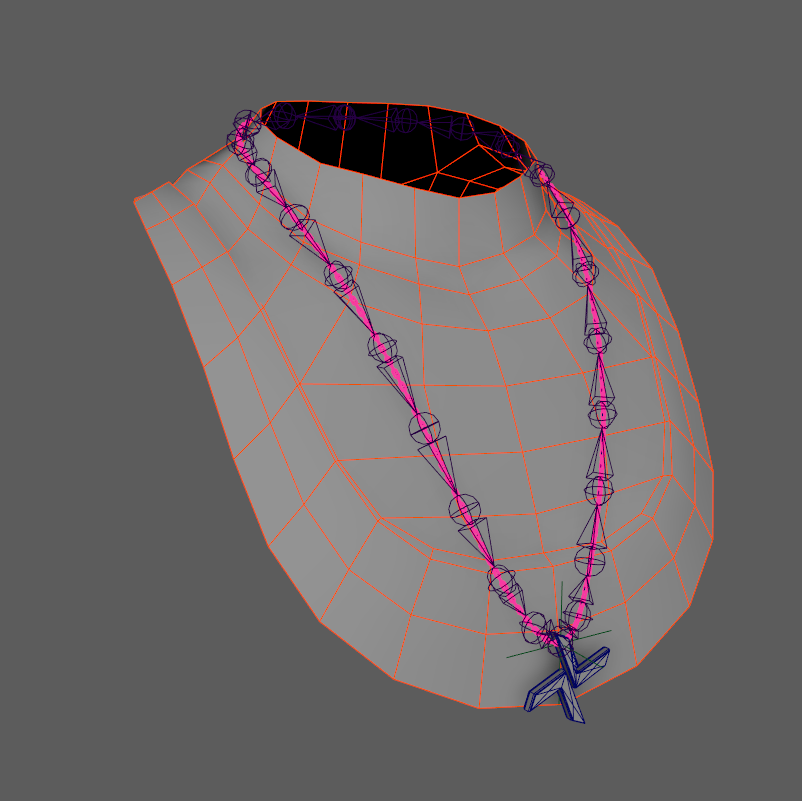
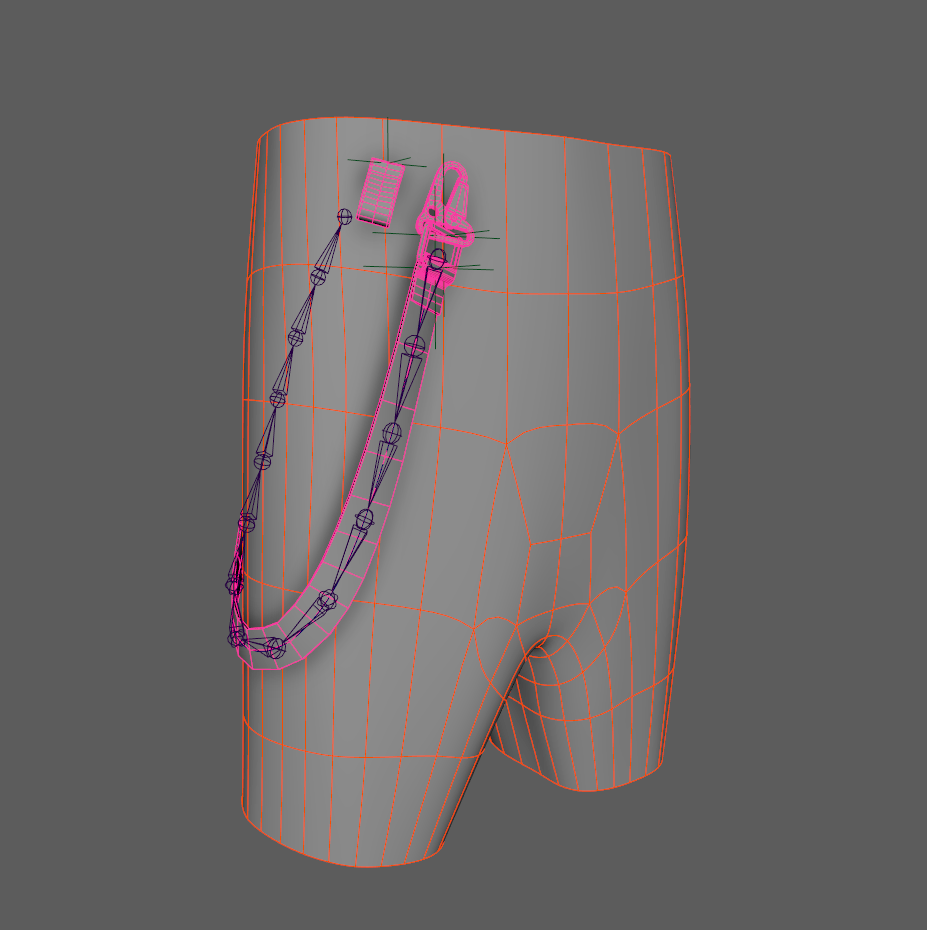
Because I wanted to run some rigidbody dynamics simulations in UE5 for chains like a necklace and the long belt on pants, I skinned those meshes to a joint rig created with Maya Bonus Tools' projected curve > to joints script. I then duplicated and constrained those joints via Python for later tweaking as needed.
Timelapse video from ideation to current state of the project
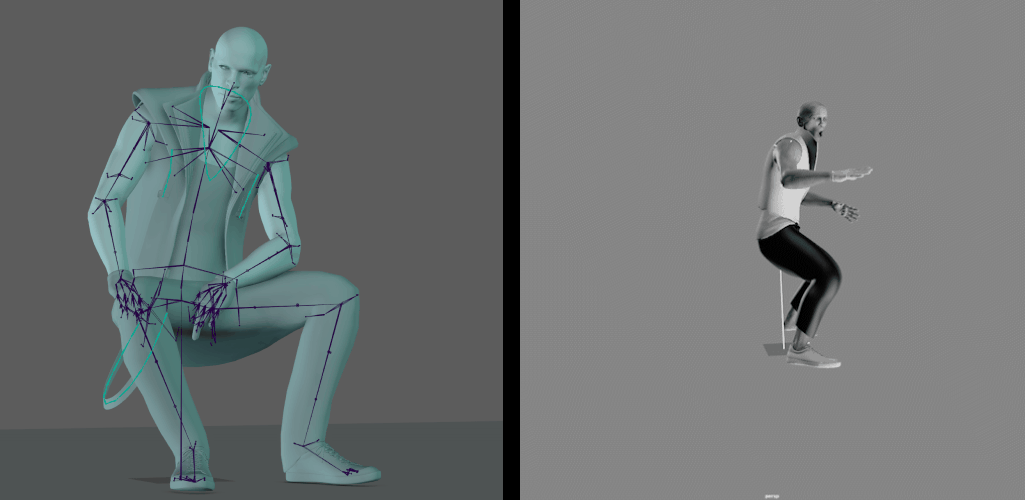
Putting it all together in UE5
This was the first test I've done in UE5, just to see if everything works as expected and to understand the rigidbody dynamics.
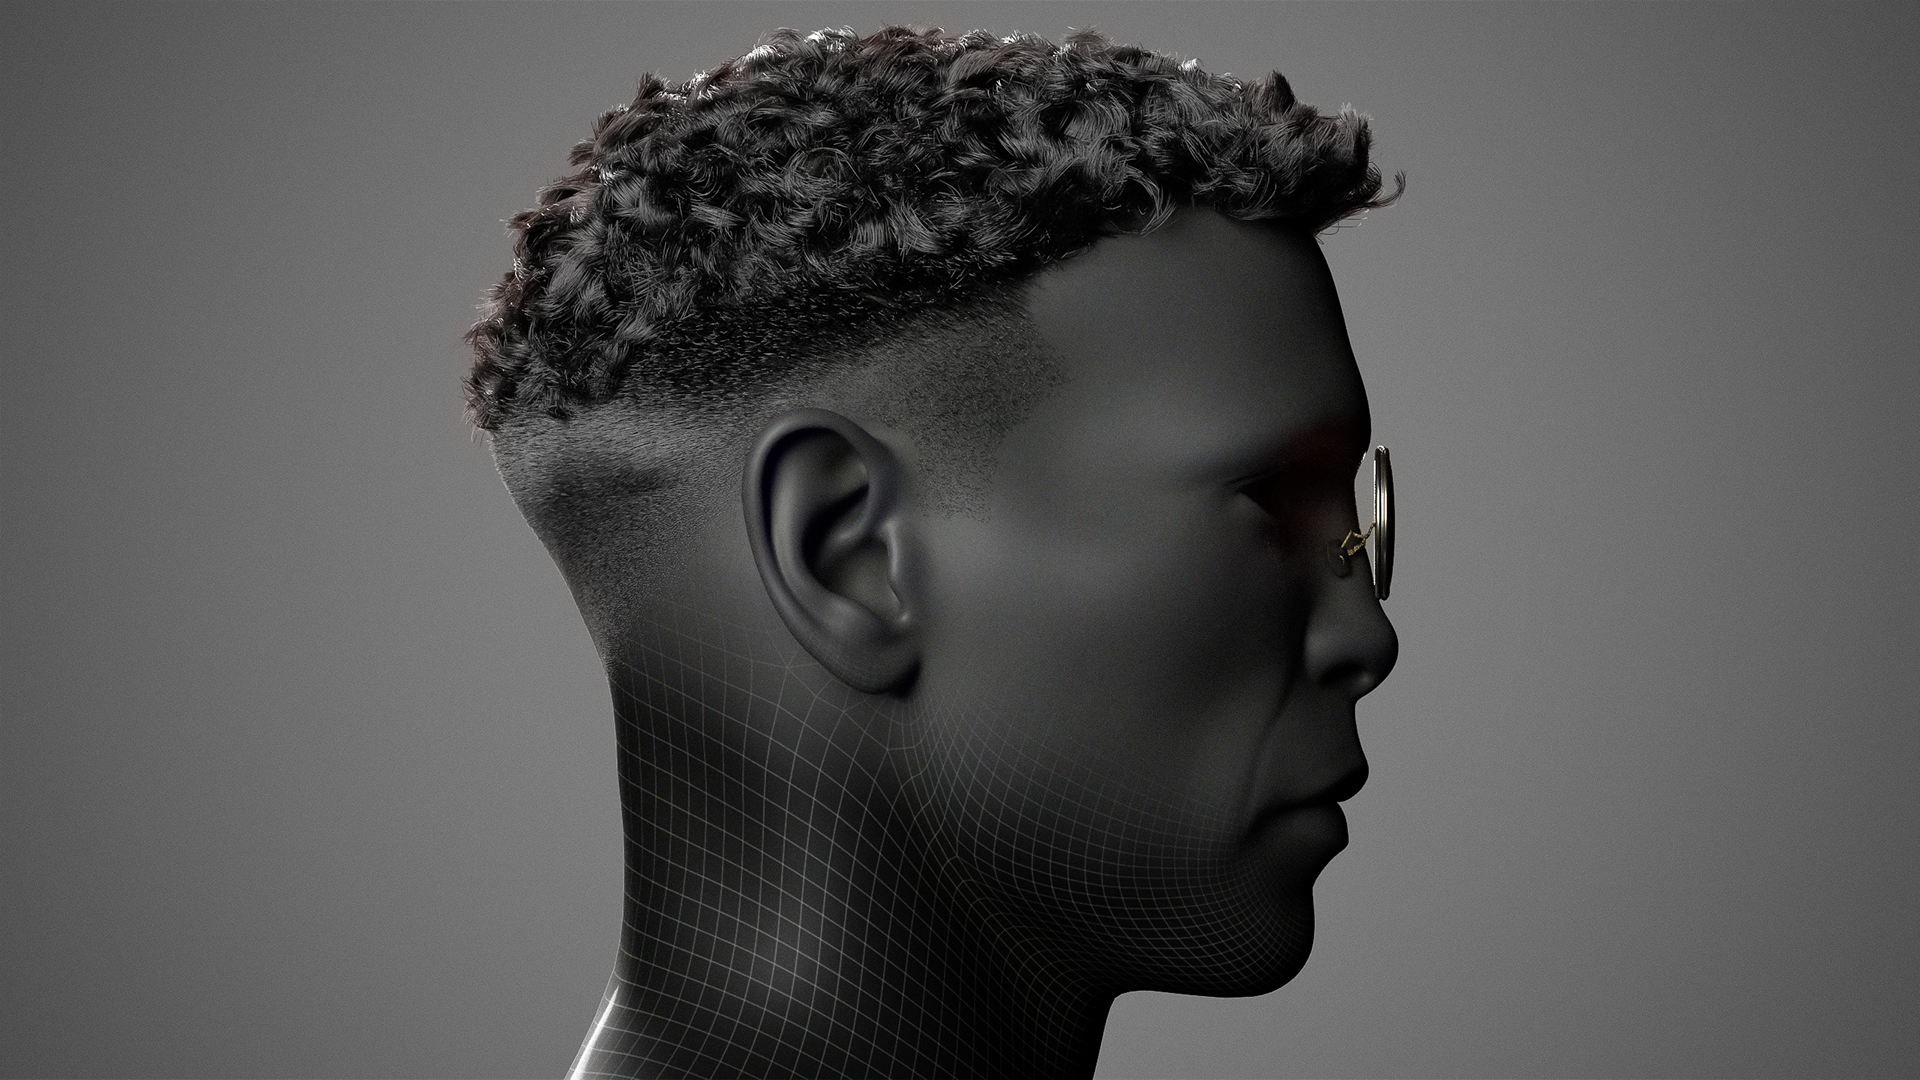
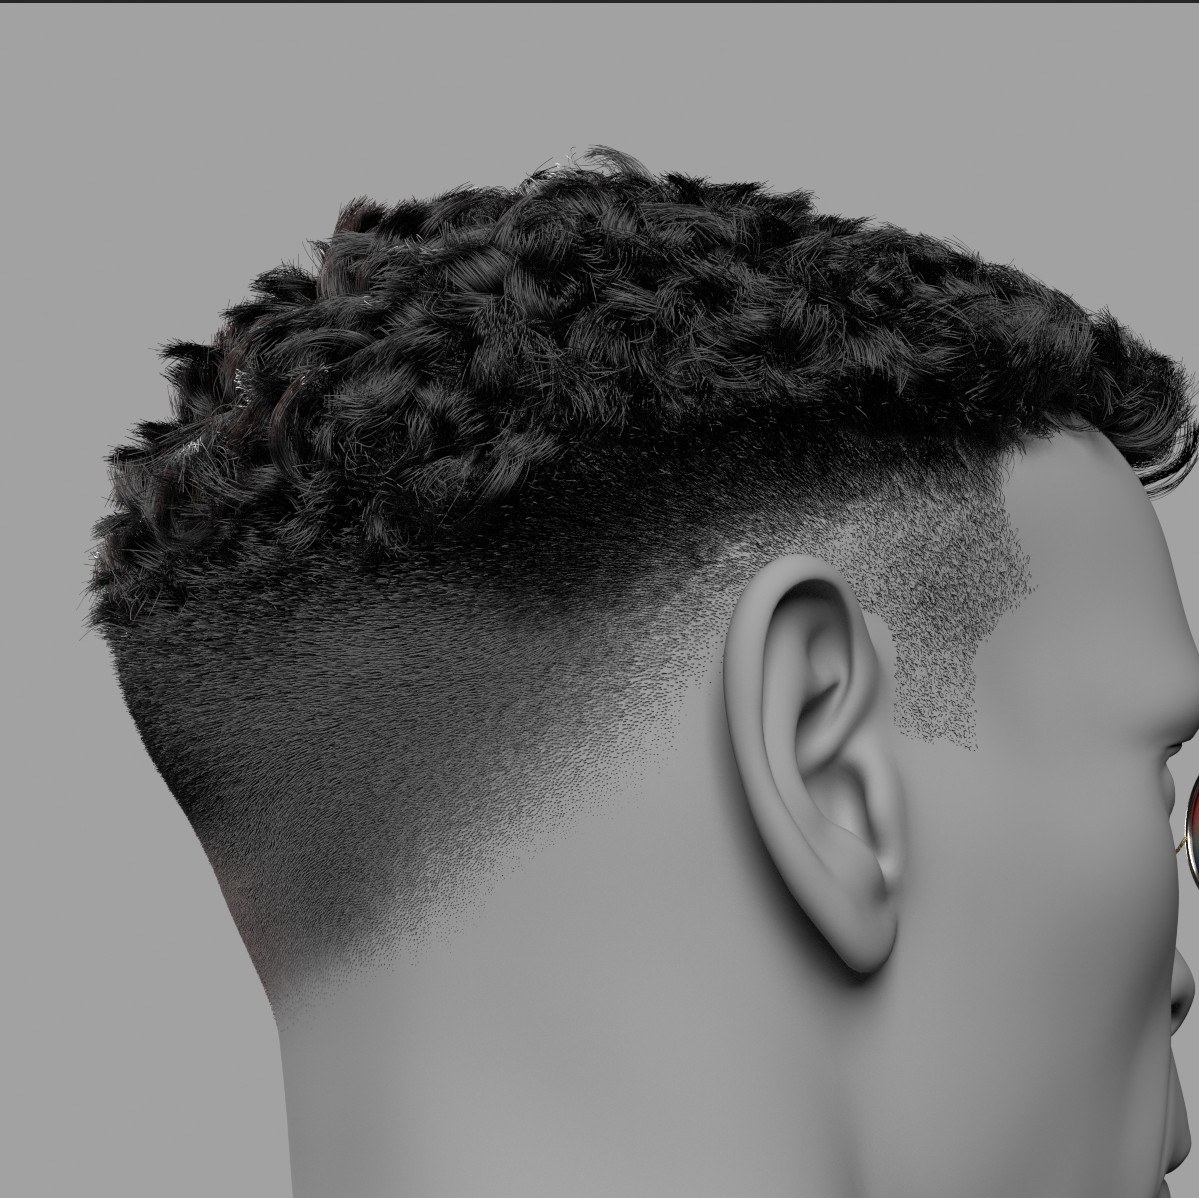
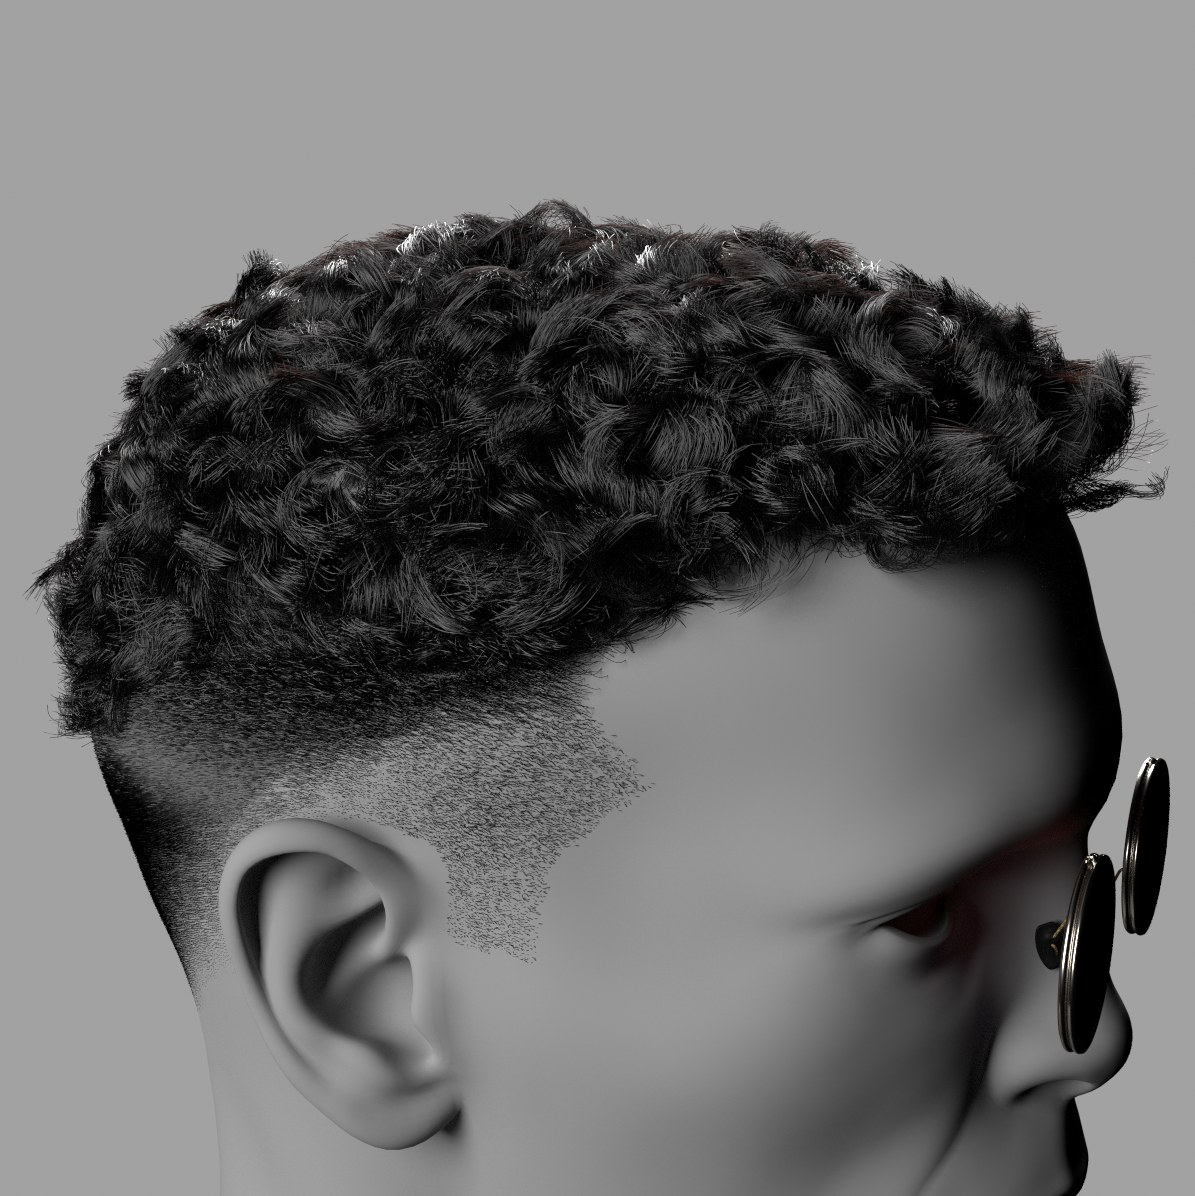
Groom


To be updated..


