
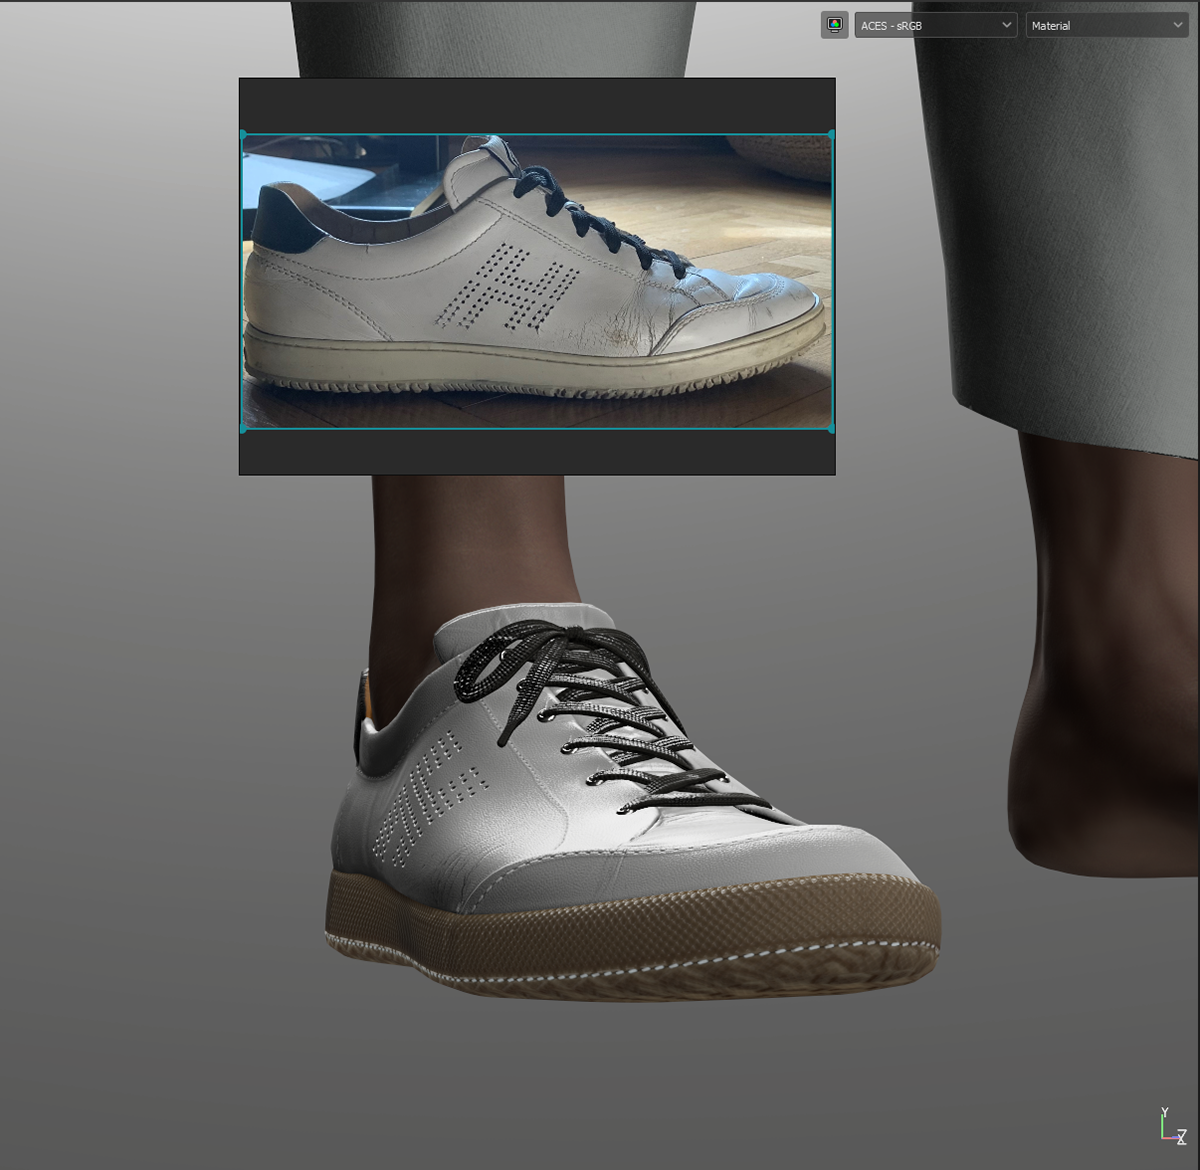
The process was very straight forward. With about 10-20 photos and a bit of cleaning, this kind of work is possible.
Retopo and UV Unwrapped in Maya, reprojected details and sculpted shoe ties in ZBrush, everything else in Substance Painter.
I was thinking more grimy, dirty used look but later on I liked the refurbished look so kept it clean.
Retopo and UV Unwrapped in Maya, reprojected details and sculpted shoe ties in ZBrush, everything else in Substance Painter.
I was thinking more grimy, dirty used look but later on I liked the refurbished look so kept it clean.
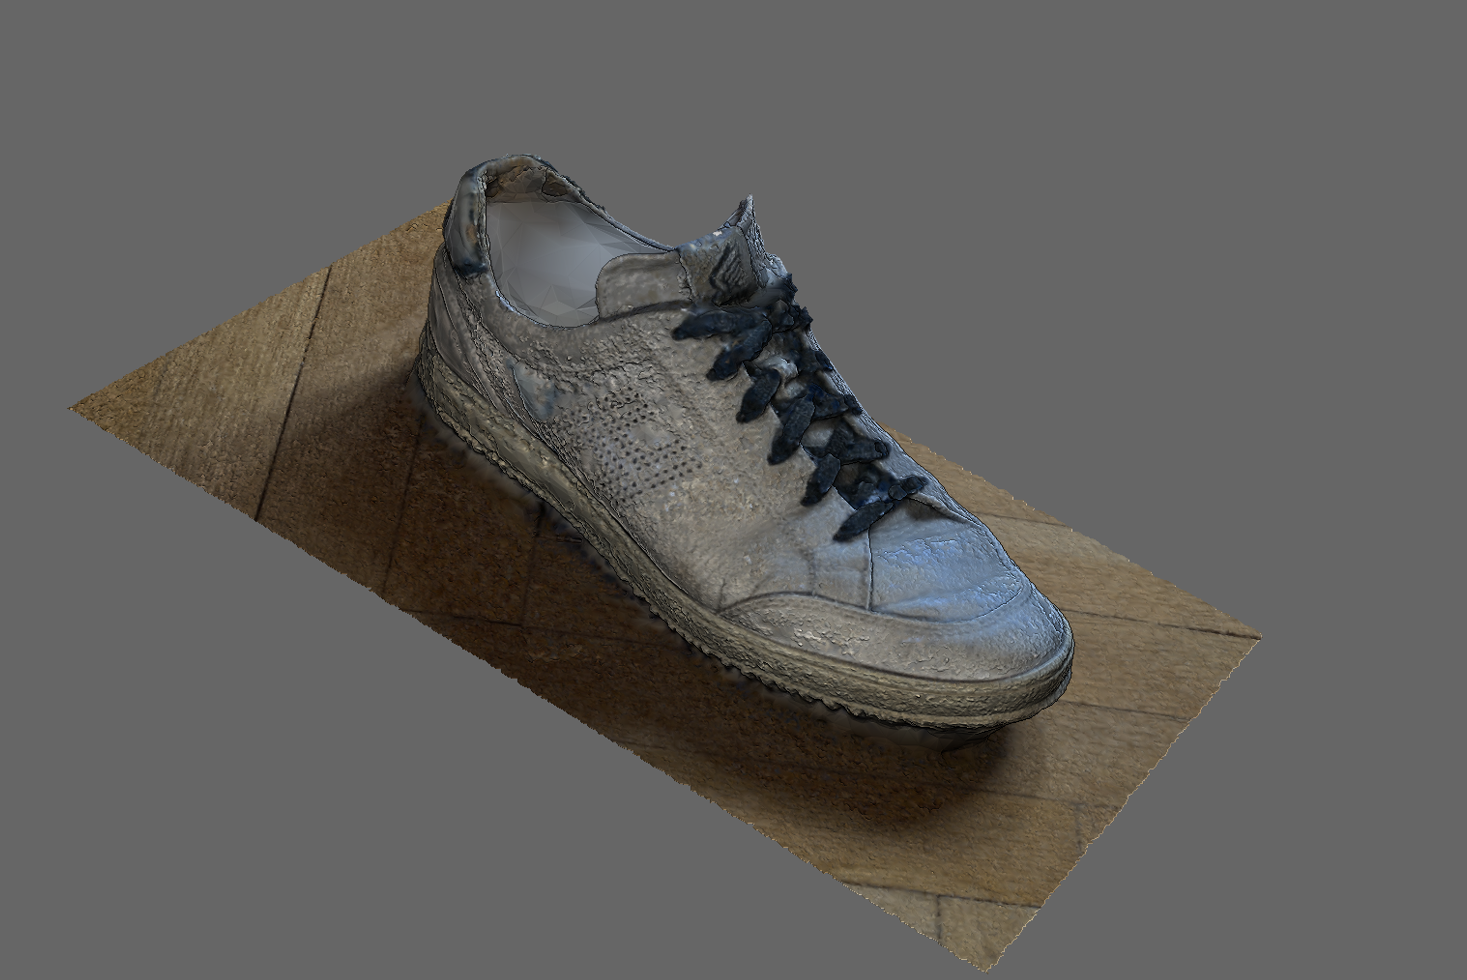
Initial scan result from Agisoft Metashape.
Actually it looks horrible with a low light, noisy iphone X, no cross-polarization whatsoever. But all I wanted was to get a base shape to retopo, then recreate it completely so the quailty of scan is wasn't that important.

Meshroom results wasn't good enough
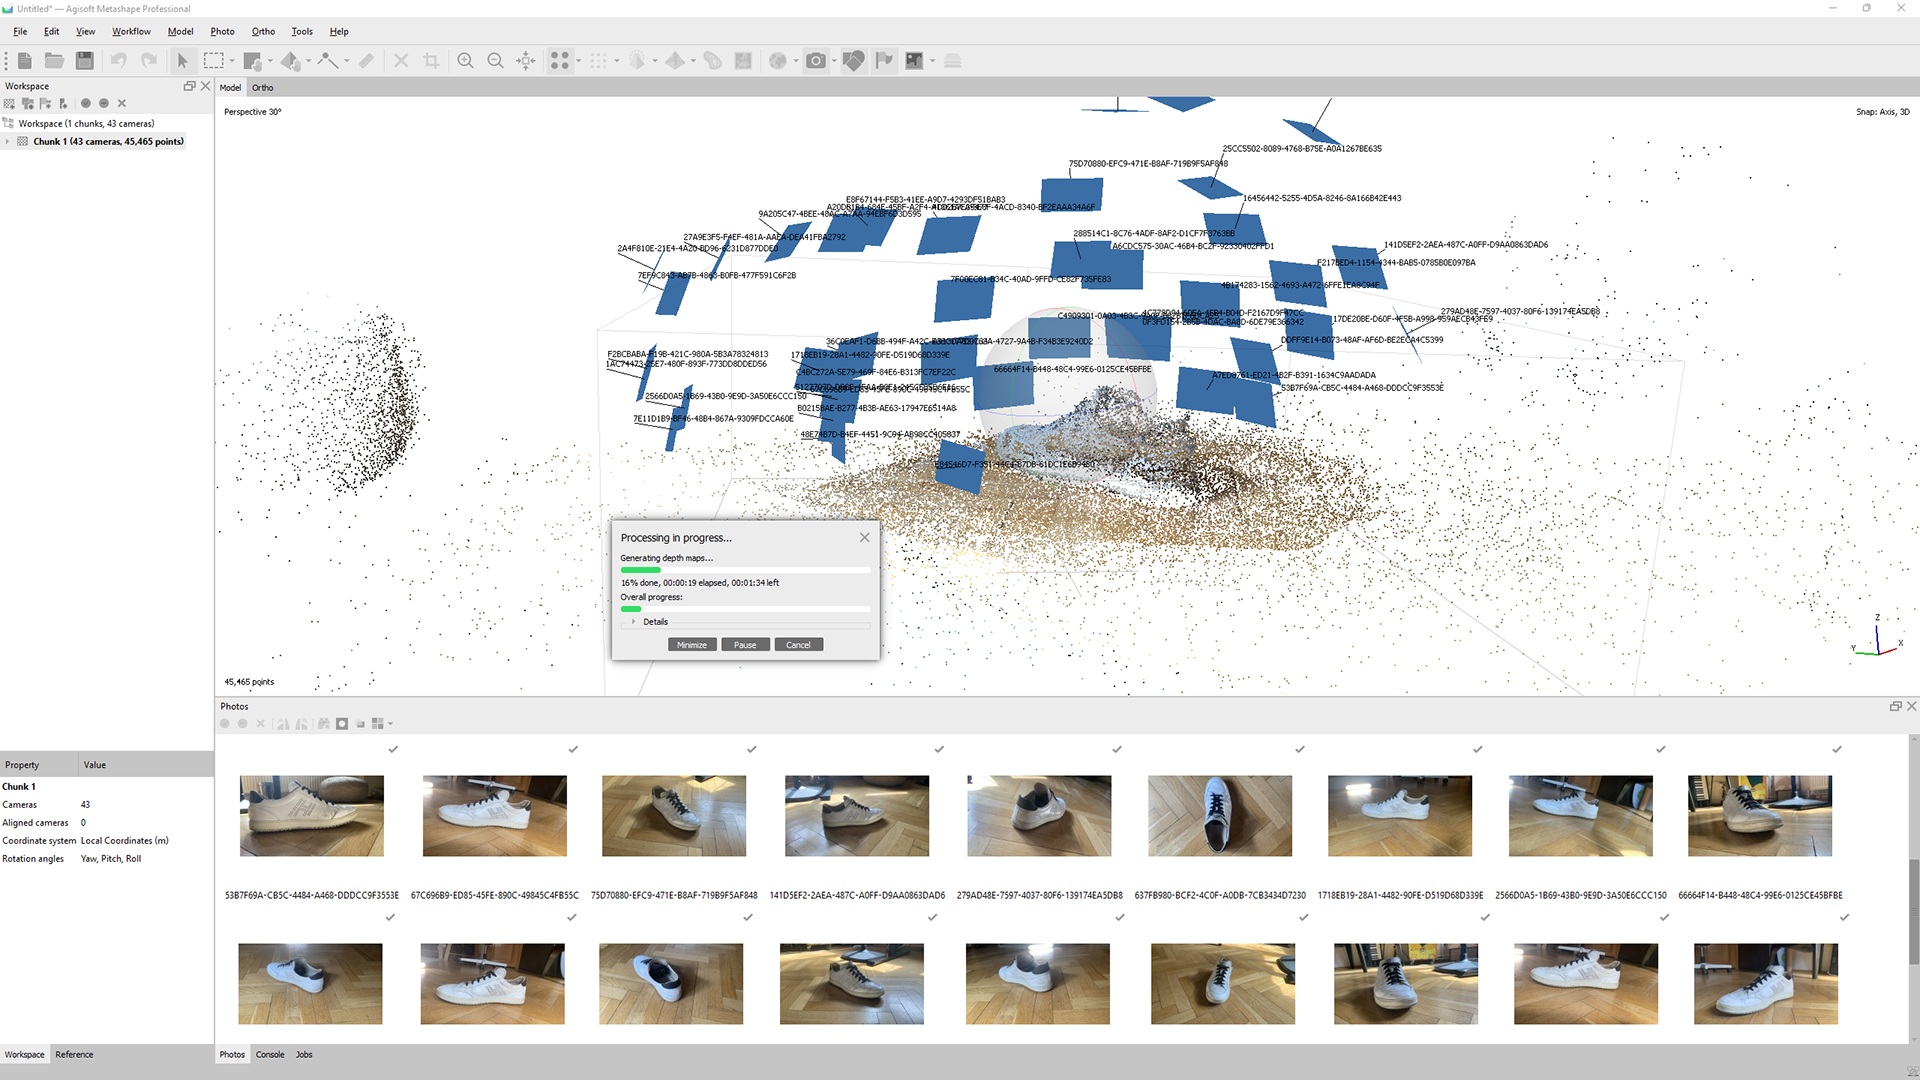
Metashape was my only option
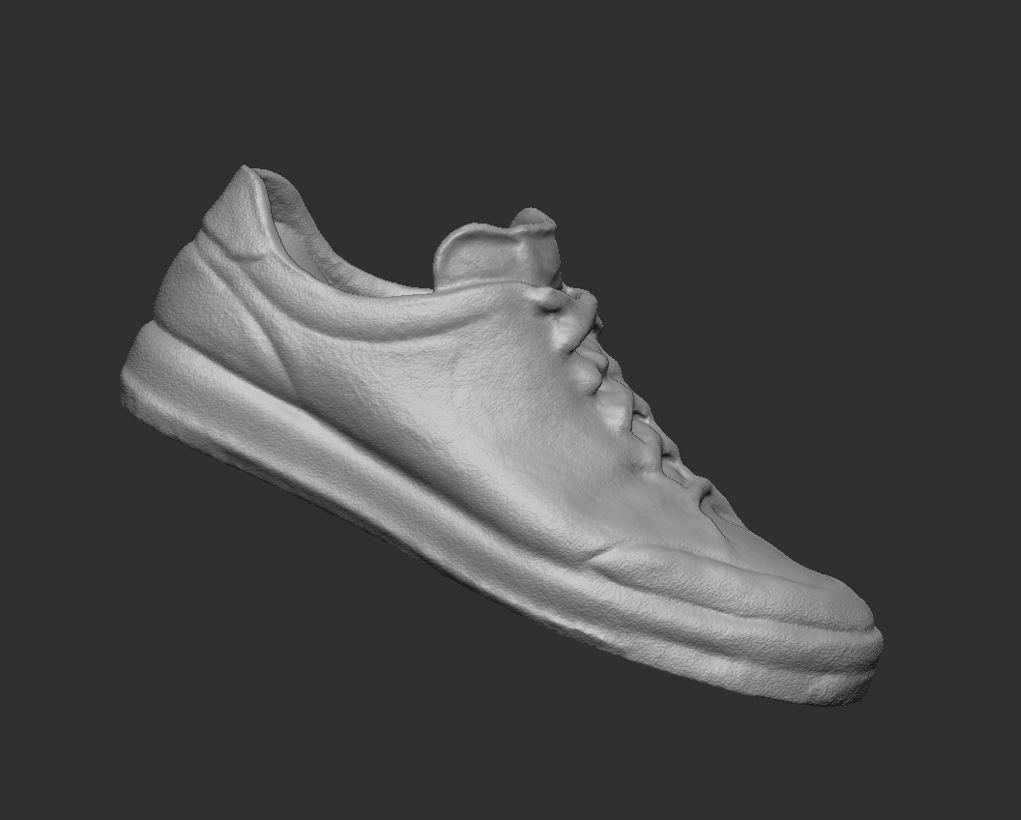
First overall cleaning pass in ZBrush. Adding noise helps me recognize the primary forms better for retopo.
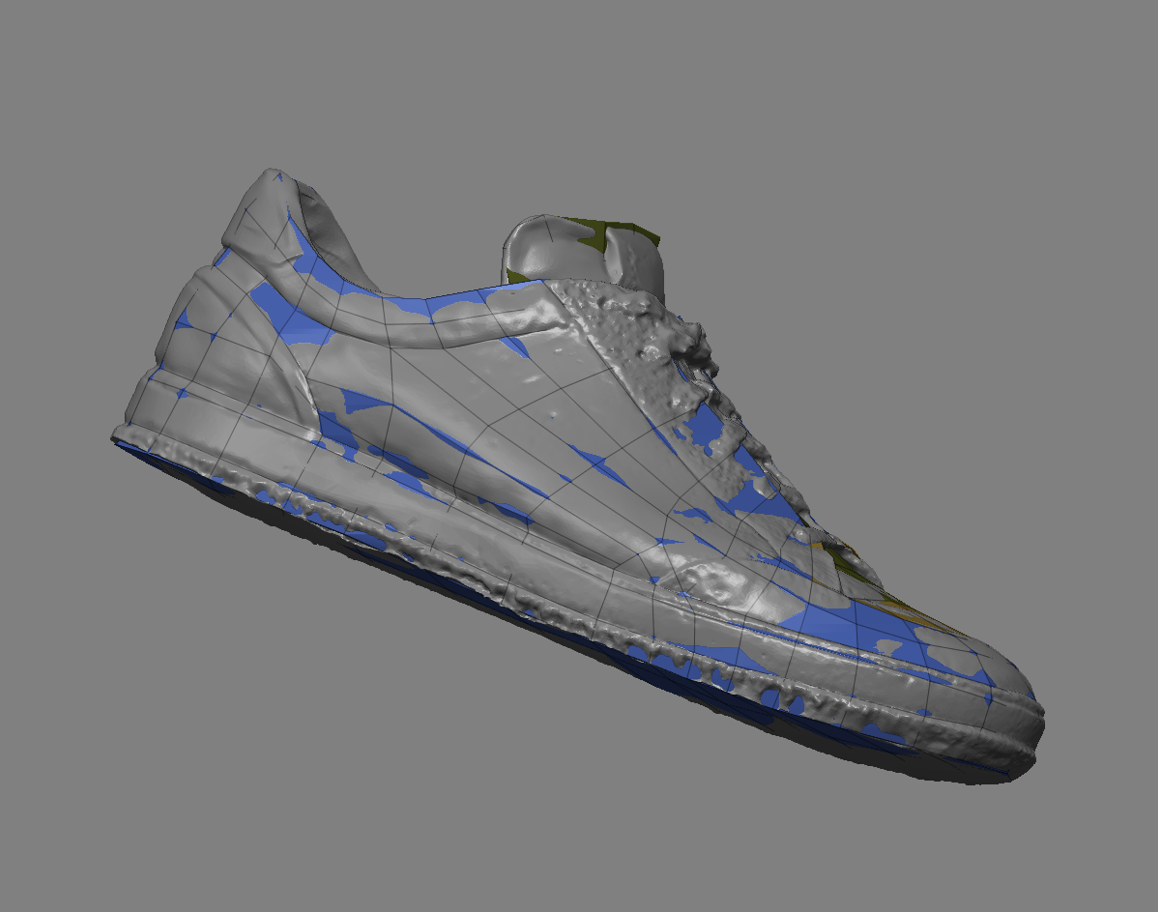
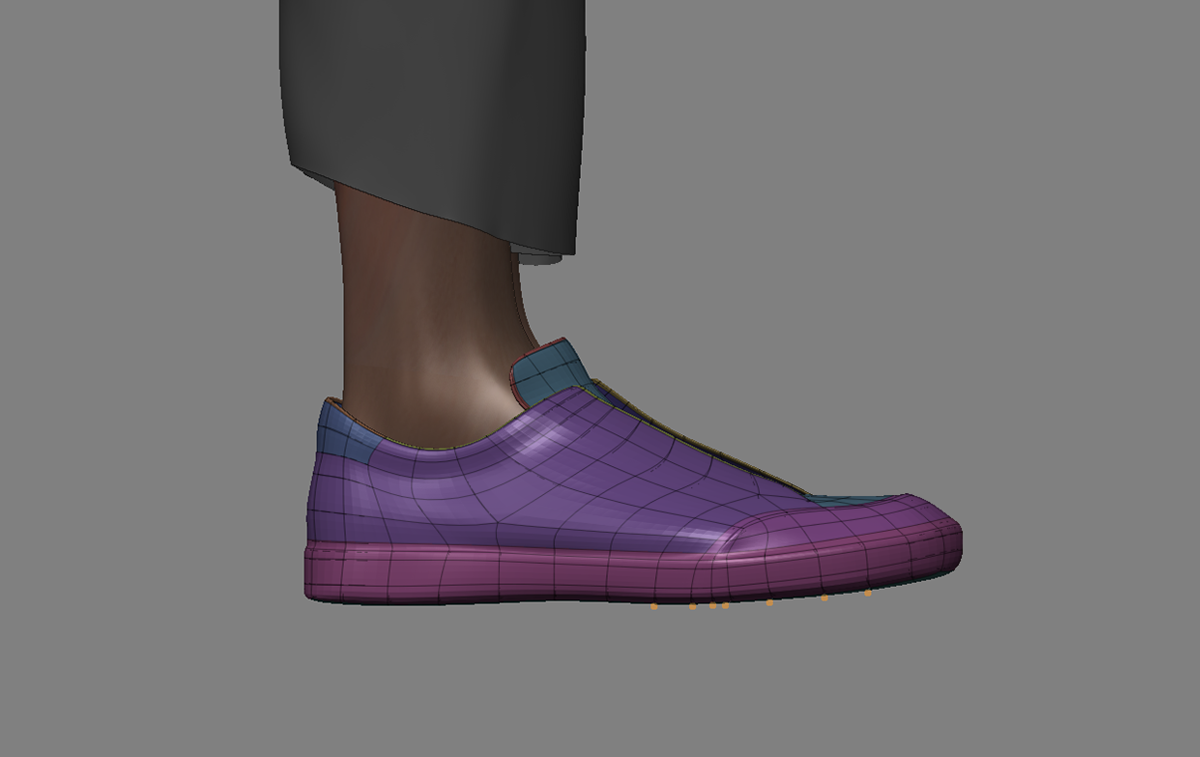
Manual retopo in Maya, re-projecting in Zbrush

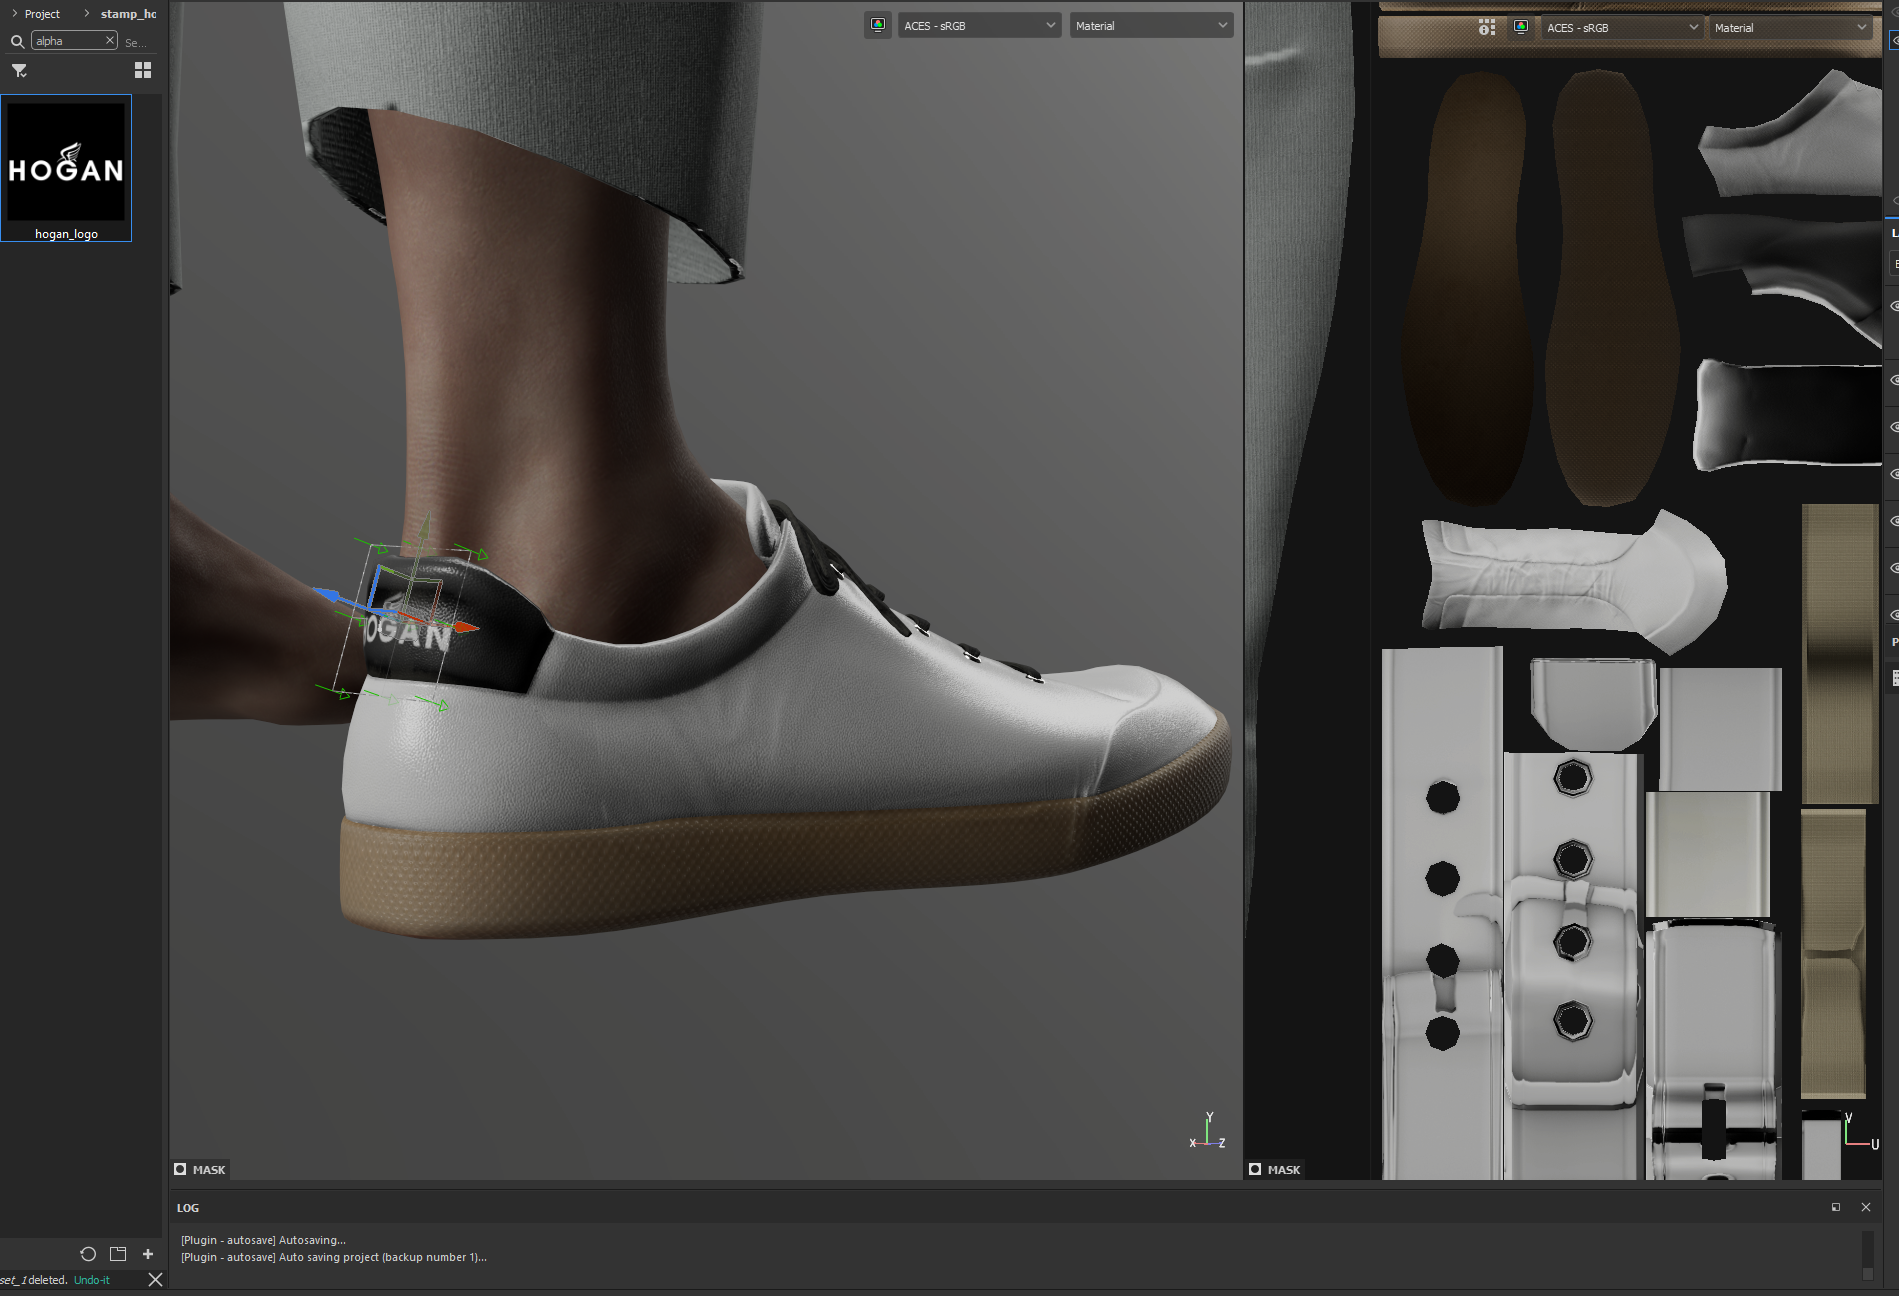
Hogan's H logo on the right side is projection paint + couple of clicks on height paint layer.
Tip: "to paint in negative values on a height channel, it has to be set to 16F instead of 8bit"
Tip: "to paint in negative values on a height channel, it has to be set to 16F instead of 8bit"


